(August 2018)
I had hoped that M. Palix, our beloved French artisan who makes Mach 2 kits, had improved his work over time. It is true that some of his most recent creations have looked a little better than some of his earlier ones, but I was disappointed with his recent kit of the Aerospatiale Écureuil because what looks to be promising in the box turns out to be a honey trap, if one can use such a term in modelling. It looks enticing and promises so much, but at the end of the day it’s nothing but trouble, with a capital T. It now resides in my rubbish bin.
The trouble is, I quite like the look of the Écureuil, it is an elegant little helicopter. It is also popular with people who buy and fly real helicopters so there are plenty of them around and I had planned to make an Australian one painted in a nice yellow scheme. Consequently, I put a lot of effort into making this kit work and every time it disappointed me with its most recent failure to live up to even minimal modeling standards, I resolved the problem and hoped things would be better in the future.
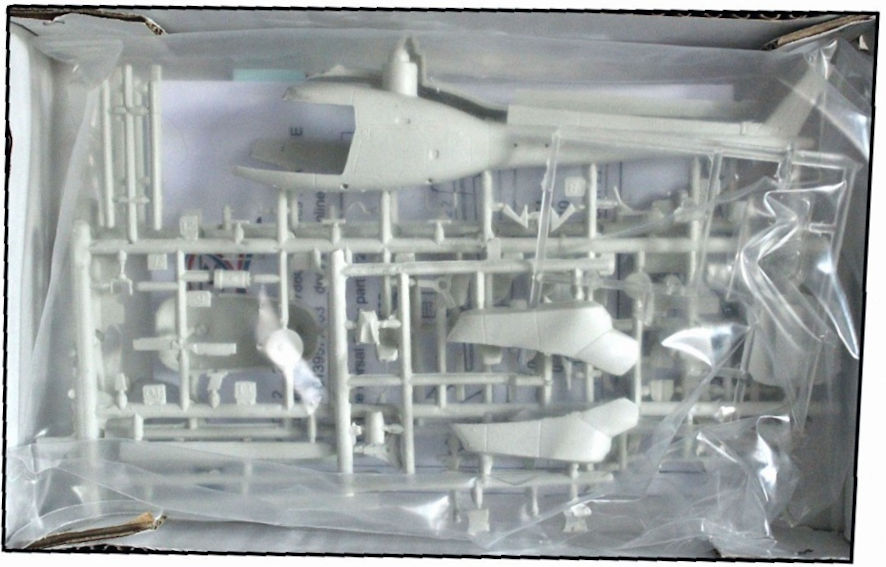
M. Palix is moving with the times in one way, his kit offers a lot of optional extras so that you can make a few different versions with the parts in this kit. Of course, his post-modern instruction sheet leaves one more mystified than enlightened about which parts go with a particular version and those which should be discarded, but this is an issue that a few glasses of vin rouge would probably resolve.
So, with a heart filled with hope, I set off on this project. All the bits and pieces necessary for a reasonable cabin interior are there, in their usual lumpy and half formed fashion. (I sometimes wonder if M Palix runs any quality control over his product to make sure what he’s putting in the box is up to scratch. If so he has different standards to mine, he does his quality control after a long liquid lunch or what he discards is even worse than what he keeps.) But this is what one has to learn to live with when making Mach 2 kits, so we grit our teeth and continue on.
Having achieved a reasonable looking cabin with what we find in the box, we then discover that finding where to put the floor and the rear bulkhead are a matter of sheer guesswork because there is nothing in the kit to indicate where they should go. Fortunately there are plenty of photos of Écureuil interiors to be found on the interweb, so this is not an insurmountable problem. Of course, a lot more work is then necessary to make sure that the two cockpit halves go together with the cabin in place, but we know that the end result will be beautiful, so we battle on and console ourselves that the gap between the halves won’t be too hard to fill and sand.
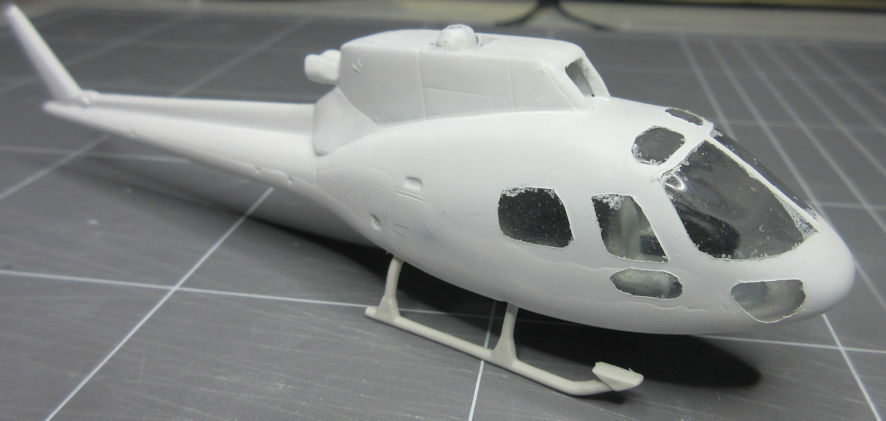
The cabin windows are not too bad, by Mach 2 standards. They are thick with plenty of flash and need a lot of cleaning up. Any blemishes in the molding are taken care of with a thorough sanding and polishing of the window interiors before gluing them in place. I considered crash molding new windows but that was going to be difficult with the cabin interior in place, and not something that I’ve had much success with, so I soldiered on using what was in the box. Having achieved something that you might actually be able to see the cabin interior through, it was time to glue everything in place. Sadly, but not unexpectedly, the fit of pieces was less than ideal. Still, there isn’t a gap in modeling that can’t be filled one way of another, though the challenge in this case was to do the filling without making a total mess of the cabin interior in the process. Oh well, another challenge to overcome, which I eventually did.
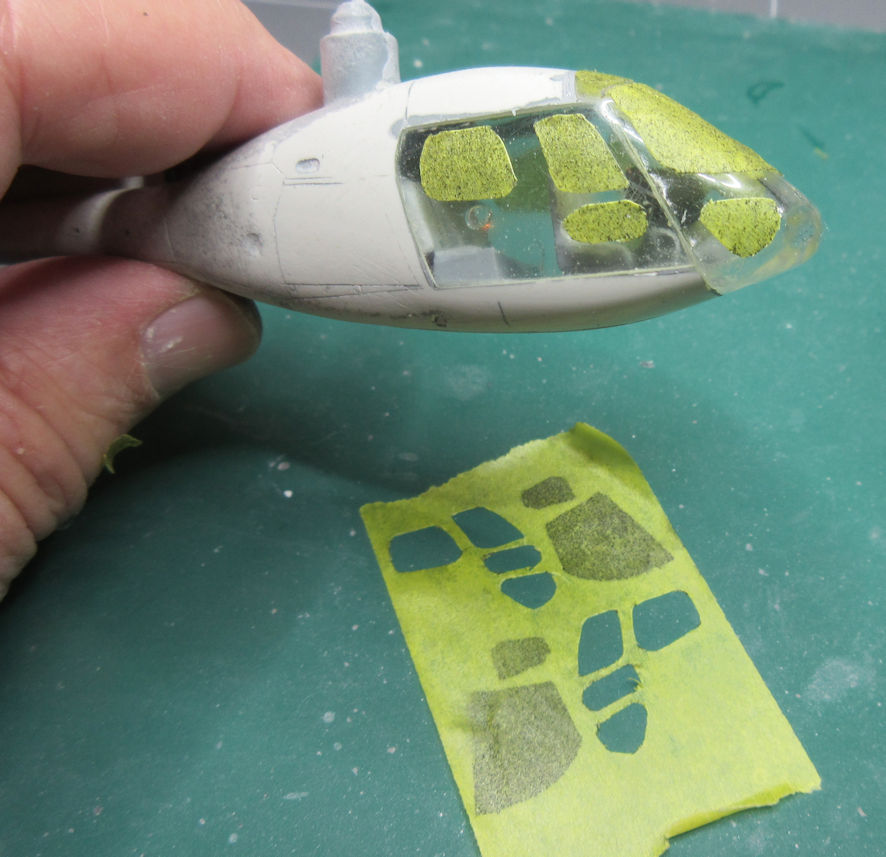
Next came the process of masking the extensive windows. There were two problems with this step. The first was that some of the window outline detail had disappeared in the process of merging the fuselage and the transparent parts and second was the not surprising discovery that, using the kit as a guide, the windows on one side were not quite the same as those on the other side. The additional problem was that the window framing was far too thick for the scale and something would have to be done about that.
After mulling this one over for a couple of weeks I came to the conclusion that I would have to make my own window masks and then sand back and polish the transparencies. Using the window outlines as a guide I traced the shapes from one side onto some paper masking tape, scanned that, flipped the image over to give me the same outline for both sides and then printed the resulting images onto some more masking tape. I would have helped had I better vision and a steadier hand, but I figured a way to resolve that problem too when I got to it.
I have to admit that I was feeling rather pleased with myself at this stage; having met and overcome so many obstacles and with the image of a beautiful little yellow model helicopter still fixed in my imagination. More work went into resolving other problems with the fit and shape of the fuselage, but eventually they too were all overcome. Then it was time to dive into the box of diverse parts to see what I needed and begin the work of turning the vague suggestions of shapes into pieces that might go at least some way to looking like the real thing. The exhaust is an example. It took some time to divine which parts on the sprue might have an exhaust nozzle hiding in them and then liberating that shape from those parts. I could go on …
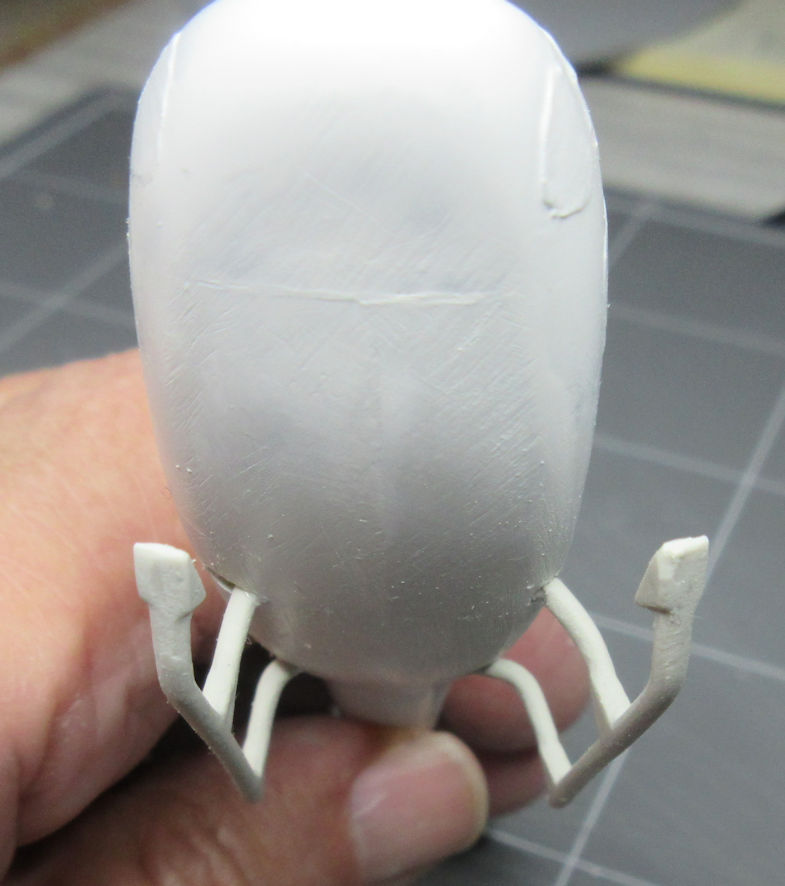
Eventually I was ready to tackle the rest of the larger parts. I put aside the rotor blades and hub parts for later, shuddering at the work they would require, and turned my attention to the landing gear. The kit offers two versions, one with long legs and also the standard shorter ones. It only took a couple of hours to make the shorter legs look something like landing gear. Then came the problem of refining their location on the fuselage, which is only generally suggested by the kit parts and the instruction sheet.
At this point my heart sank yet again. There was no way that I could make the landing gear and fuselage go together in any way that resembled the look of the real thing. No matter how I fiddled with the parts and test fitted them, the result was always something that sat tail down.
Having got this far I decided that I’d have to live with this compromise. (If I didn’t mention it nobody else would notice.) So I glued the undercarriage legs in place and then the final horror hit me, they were not the same shape. They are curved more on one side than the other so that on the port side the skid stands out from the fuselage and on the right it is under the fuselage.
As I contemplated this disaster I was reminded that it was time to go and watch the spectacle of men on bicycles riding through the French countryside, an annual visual feast that I always enjoy. But while I sat there watching, mental images of brass rod and soldering, bending plastic rod or resin casting replacement parts floated through my mind. Such a solution would be difficult, but not impossible to achieve. It would also resolve the problem of the way the model sat, push me out of my comfort zone and take a lot more time…
I gazed at the tv while considering the options. A lot of the vision is shot from helicopters, modern two engined versions of the Eceureuil that I was trying to replicate. ‘What beautiful machines,’ I thought as I watches them fly around the sky over the bike racers and thought about the little monster waiting for my in my room. I could conceive of no way in which I could make it look as good as the real thing. Maybe the best thing would be to put it out of my misery and move on to something easier – after all I have hundreds of kits in my garage all waiting to be made. Still, the Écureuil is such a beautiful little aircraft and I would love to have a model of one.
Still unresolved about what to do, I decided to see how my masking attempt had gone. The resulting bleed through was not as bad as I had expected but worse than I had hoped, and easily fixed with a day’s work with some very careful sanding and polishing and another bout of careful masking. But it was the final straw. The nice, clean and simple Matchbox kit of the Aerospatiale Dauphin 2 was sitting on a nearby shelf, it’s siren song calling to me. I heaved the bastard little Écureuil model into the bin with great relief, and reached out for the new kit.