February 2017
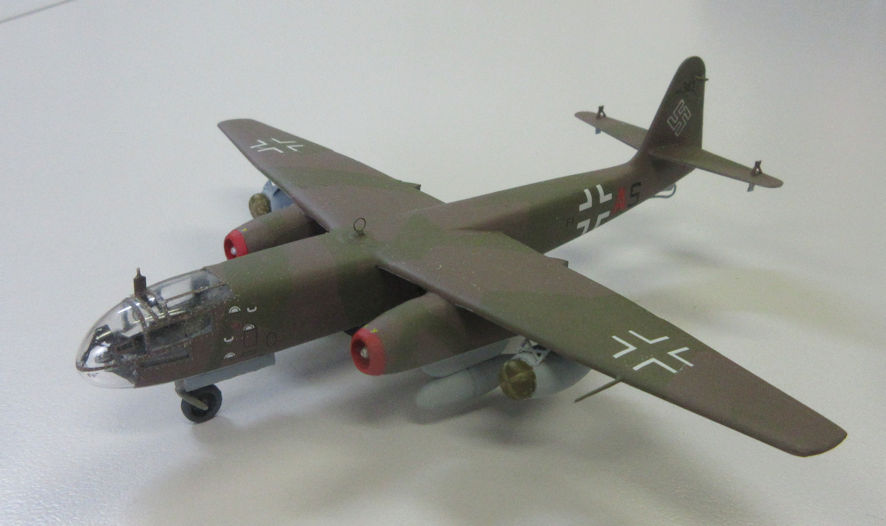
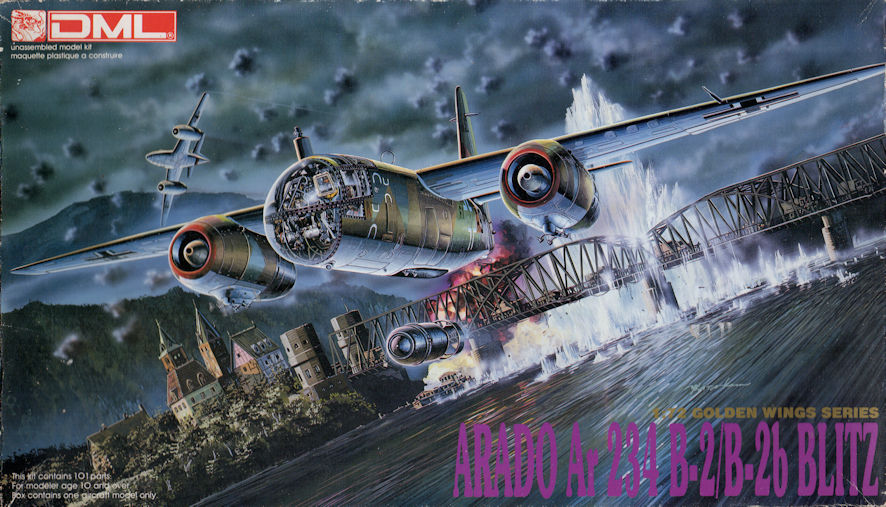
This model represents an Arado Ar234B-2 of III/KG 76 which was flown in attacks on the Ludendorf bridge at Remagen in early March 1945. It used the Dragon kit and Aeromaster decals.
I made this kit as part of my education in using these modern acrylic paints. I had bought the Hataka late Luftwaffe paint set and needed something to try them out on. The Arado had always taken my fancy and I wanted something big and chunky to start my Luftwaffe making career on.
The most difficult part of the build is the cockpit with it tiny and fiddly detail. I suspect that if this was a larger scale kit there would be even more detail and more fiddly bits to play with but, when the construction is finished, the painting done and the whole lot installed inside the canopy, there is quite enough detail there to suggest a tight and complex cockpit. For the rest, the construction is fairly straight forward and fit generally excellent.
The painting was the difficult part. The kit offers three decal options but the kit decals themselves looked a bit old and yellow so I used instead an Aeromaster decal sheet I’d picked up years earlier. It turned out that both the kit and Aeromaster offered F1+AS as an option and that was the version I decided to make. The decal instructions were very vague about the arrangement of the upper fuselage camouflage colours so I used a bit of deductive logic and photos in an attempt to get things right, if only I had looked at the kit instructions I would have found very clear colour instructions. As it was, I got the scheme more or less right, anyhow.
I found that the Hataka paint was a bit thin for my purposed. Of course, they are probably made just right for airbrushing but since my reason for trying out acrylic paints is so I can hand paint them, so I had a go with a nice broad brush. The results weren’t too bad, although I needed to apply three coats of the RLM 81 Brown-Violet to get a decent coverage. Since, however, the paint dried within a few minutes of application it did not take long to do the painting. I did mask the straight lines between the upper fuselage colours, but that did not take long. The masking that did take too long was all the little transparent sections of the cockpit canopy, you’d think that the Germans could have fabricated something simpler than that.
Steve had given me a bottle of his magic potion for giving the completed paint job a gloss finish for the decals, I applied with a brush and got an excellent finish using only a small amount. After the decals were in place – why do they give you all the tiny stenciling but no instructions about where they should go, so I ignored them – I touched up all the little problem areas, which is one of the advantages of acrylic paint. Then I applied a light coat of Tamiya TS-80 flat clear varnish. Finally all the wheels, bombs, doors and so on were attached. The little periscope housing on top of the cockpit had vanished somewhere in the whole process so I scratch built another, attached and painted it.
Those Germans sure made some nifty looking aeroplanes towards the end of the war, but it’s not a big aeroplane, is it?