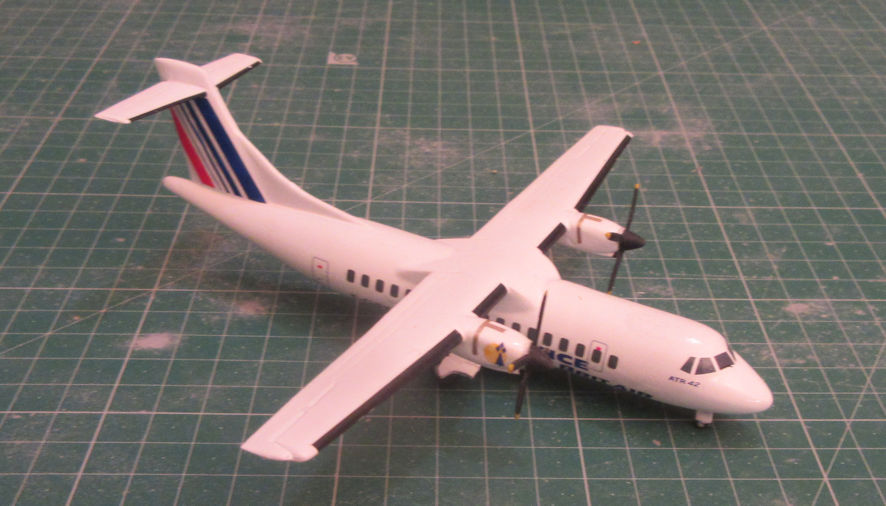
I’ve never been in an ATR but I’ve been in a Dash-8 more times than I care to remember and, if travelling in one of those is any indication, flying in an ATR would not be enjoyable. They stick you in a tiny seat jammed in with too many other seats in a long, narrow metal tube and then subject you to an hour or two of tedium and noise. The only excitement of the entire trip is when the wheels retract and when they come out for you to land – that’s in the Dash-8, the wheels of the ATR come out of the fuselage rather than the engine pods, so you don’t even get to enjoy that slight distraction.
Still, the Avions de transport régional (ATR) is assembled in France and doesn’t look too bad as far as regional airliners go. So far as I am aware there are only three sources of 1/144 kits, an old F-Rsin ATR 72 and the new F-Rsin Plastic ATR 42 and ATR 72. There are also the Welsh Model vacform kits which, after my adventures with the F-Rsin Plastic kits, aren’t looking so bad. I made the F-Rsin resin kit a few years back and I recall it as being quite a pleasant experience to make. Jamming your fingers in a door several times would only be slightly more painful than doing battle with these kits.
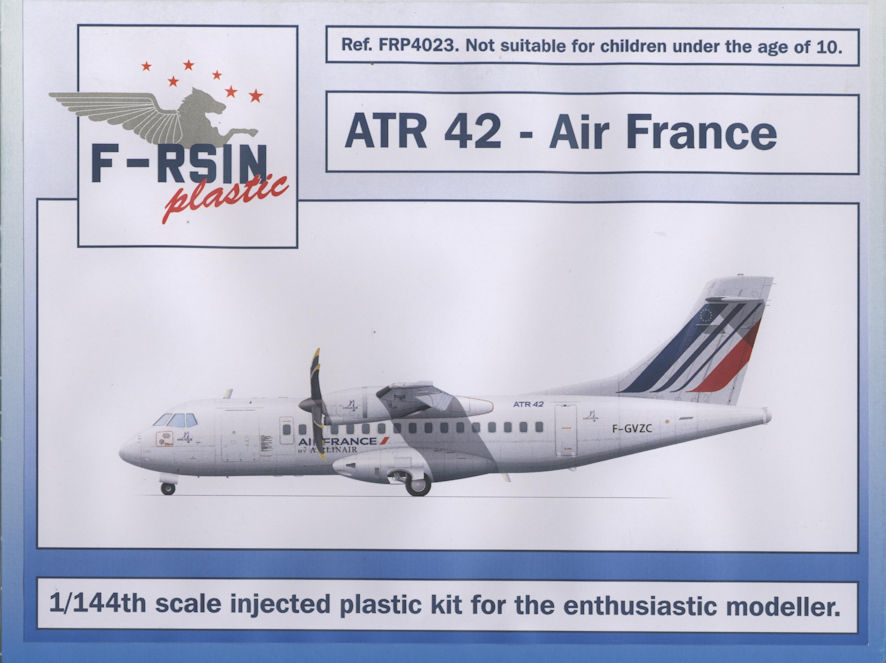
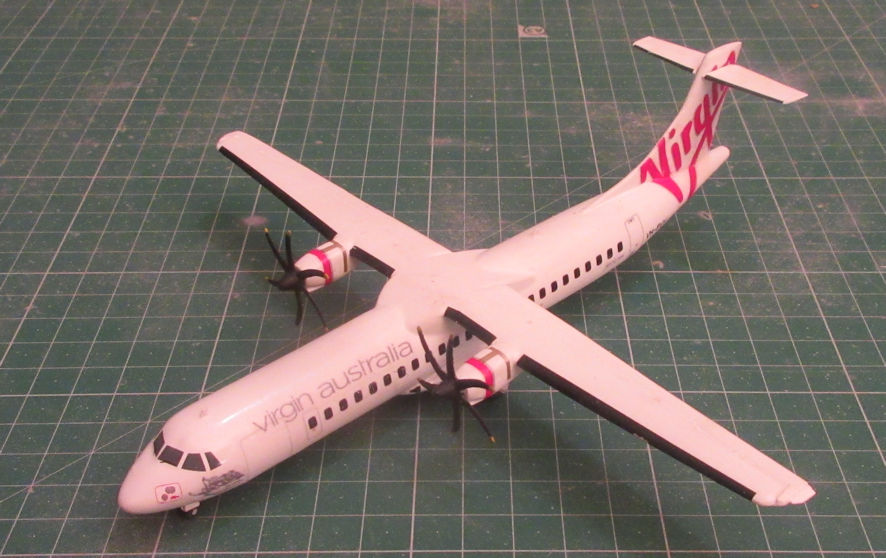
The ATR 42 is called that because it is supposed to carry around 42 passengers and the ATR72 is called that because they jam 72 passengers into it. The F-Rsin Plasitc kits of both versions are basically the same except that the ATR72 fuselage and wings are longer. The decals are good, that’s one thing you can praise F-Rsin kits on, but the instruction sheet is typically French post modern although, unlike some Mach 2 instruction sheets, appears to have been drawn on a computer rather than the Mach 2 hand drawn diagrams. The kits themselves comprise one big moulded frame of bits and pieces which looks alarmingly as though it has come out of the Mach 2 moulding machine.
In keeping with the Mach 2 tradition, the kit components are often quite puzzling, and the instruction sheet does not help. For example, it is quite possible to instal the undercarriage wheel well the wrong way around. That, however, is only a minor matter in comparison to trying to get them to fit between the fuselage halves. You might either end up with a gap between the fuselage halves that needs filling or you might spend a few frustrating hours trimming away at the fuselage interiors and the piece in question before everything fits snugly.
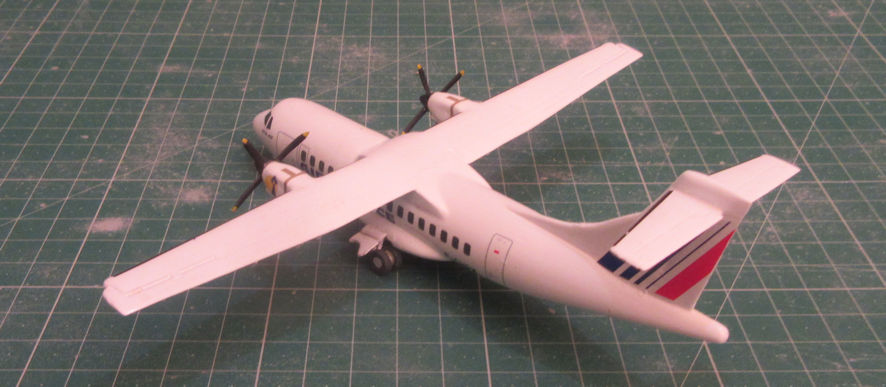
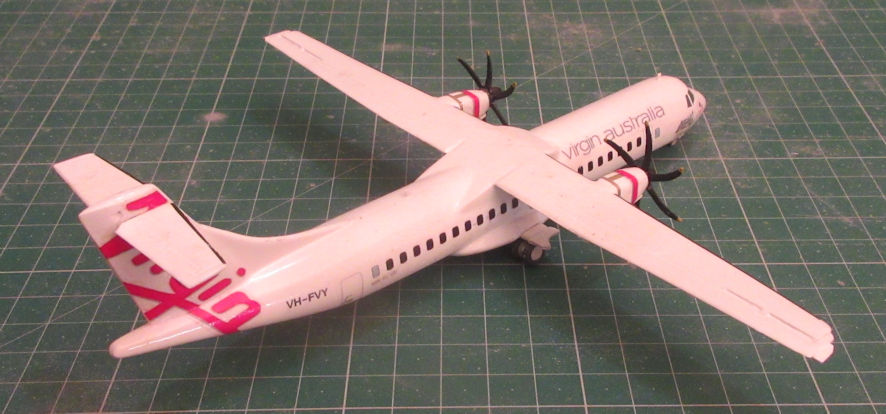
The undercarriage also causes other problems when it comes to installing the legs. It is easy enough to find photos of what an ATR should look like when sitting on the ground but another think again in getting the pieces of plastic in the kit to replicate that look. And then there is the business of the propellers. Both kits provide you with the parts for the four bladed straight propellers and curved six bladed propellers, which is just as well because the quality of the moulding means that you need to be making both kits to get enough fully formed blades to make a single set of both types of propellers.
What else to I need to warn you about? Not much really, you’re not going to make these kits, are you? They look nice when completed in their white paint and pretty decals, but don’t let that deceive you, there’s nothing very nice about these kits.