(November 2012)
There comes a time in the life every modeller who sets out to make a model of every airliner ever made (particularly the French ones) that he has to confront the prospect of making the late model Lockheed airliners. Sure, they look great, but they are also a bugger to make.
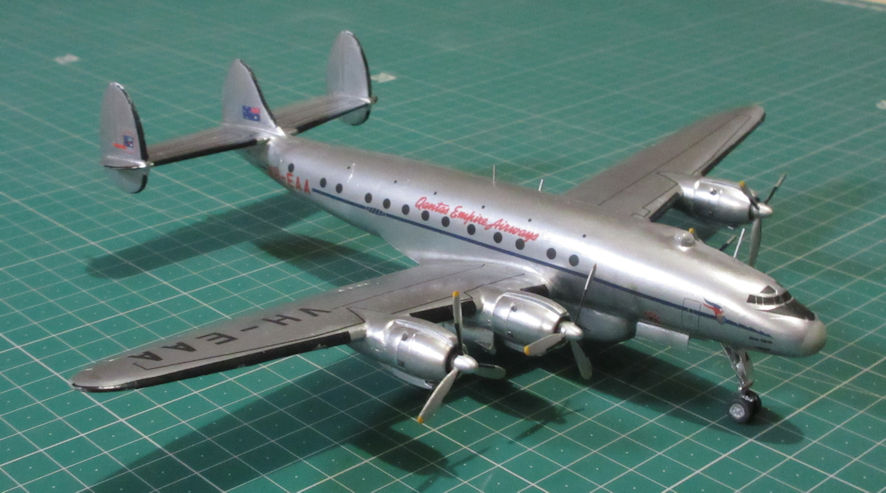
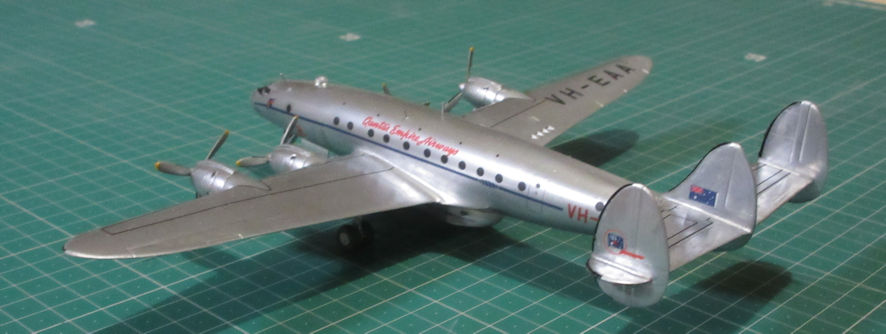
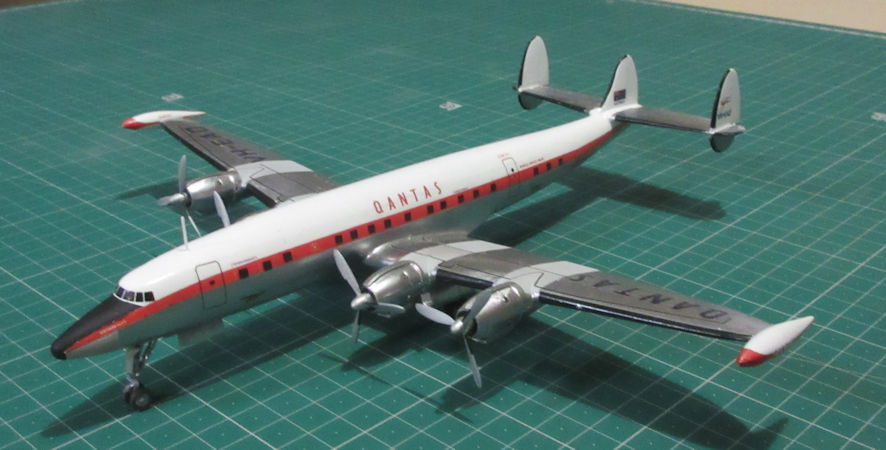
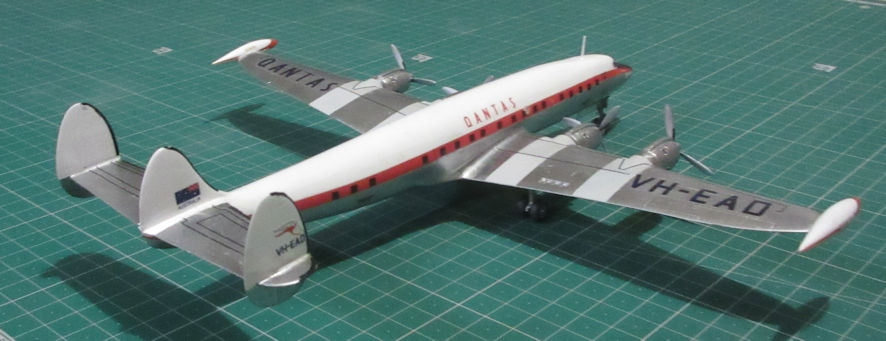
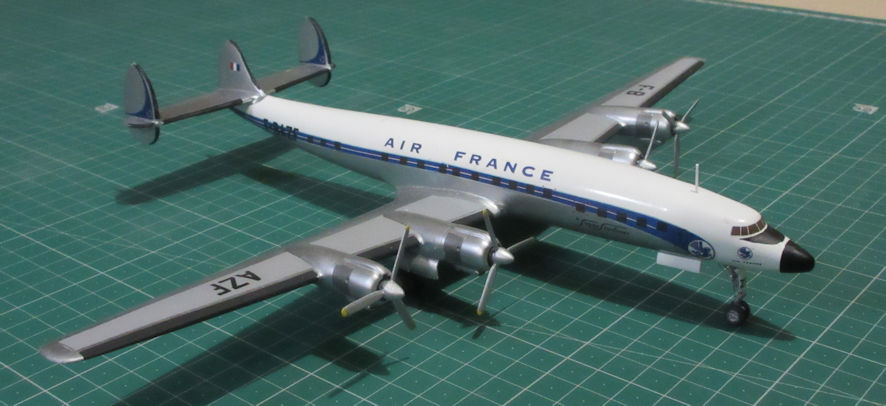
The first step in the project was to work out exactly what these airliners were and what the visible differences between them were. After some pondering I came to the decision that I would make the three major versions; the L-749 Constellation, the L-1049 Super Constellation and the L-1649 Starliner. And in the possibilities for the L-1049 I decided to make the L-1049G.
In 1/144 Minicraft makes a generic L-1049G that is also available as a L-1049 and a C-121 and EC-121. There are, of course, several problems with this kit but the most important one is that the cockpit is suitable only for the L-749, which the kit otherwise doesn’t represent. Also in 1/144, Welsh Models provides all three versions, but all in vacform with resin engines and white metal propellers and undercarriage legs. All three kits come with Air France decals that have options for all three kits. Fortunately for us, Hawkeye produces decals for a Qantas Empire Airways L-749 and a Qantas L-1049.
The L-749 was basically the same as the wartime Constellation with the short fuselage and the wing platform the same as the P-38. The post-war L-1049 had the same wings as the L-749 but the new, longer fuselage. The main difference between the L-1049 and the L-1049G was the thimble nose radar and wing-tip fuel tanks. The L-1649 retained the fuselage of the L-1049 but had new wings and engines.
Now, I have this odd sensibility that I like models that are similar to each other to look similar. Unfortunately, the wings of the Welsh Models L-749 do not look quite the same as the wings on the Minicraft L-1049 and the fuselage of the Minicraft L-1049 does not look the same as the fuselage on the Welsh Models L-1649. The undercarriage on the Welsh Models kits did not look the same as those on the Minicraft kit, and the tails on the vacuform kits was much thicker than the tails on the injection moulded kits.
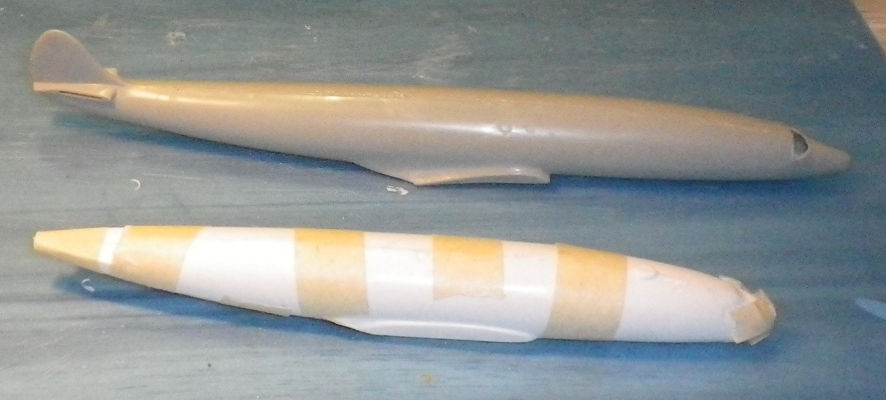

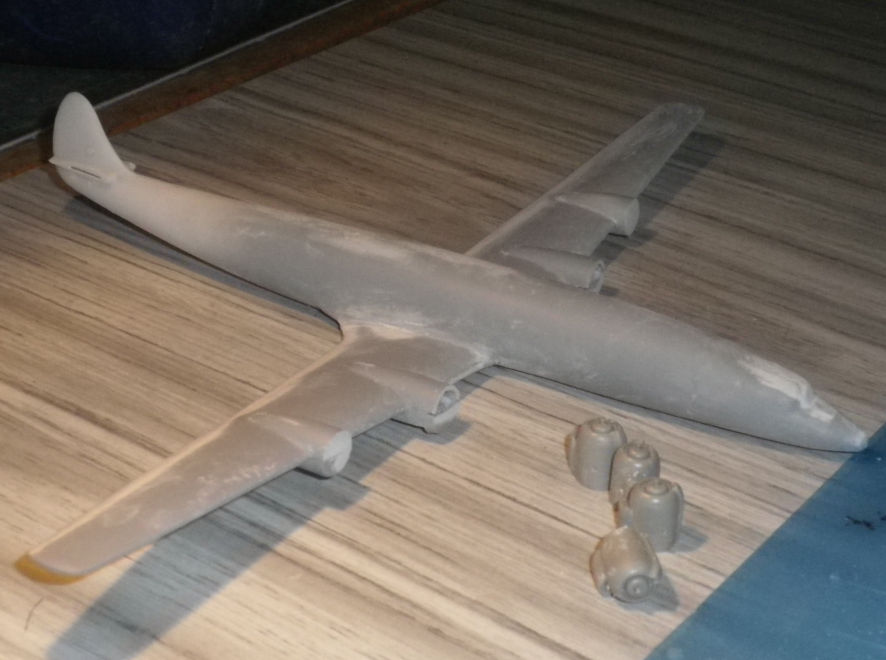
In order to bring about some form of similarity between the three models I decided on the following combination of parts. For the L-749 the main fuselage of the Welsh Models kit was mated to the Minicraft tail and wings (and the Minicraft front undercarriage wheel well put into the Welsh Models fuselage). The L-1049 was the simplest with only the cockpit area of a Welsh Models L-1649 put into the fuselage of the Minicraft L-1049. The L-1649 comprised the fuselage of a Minicraft L-1049 and the wings of a Welsh Models kit, with the cockpit area of that kit also grafted onto the fuselage. (I could manage all this because I has accidentally ordered two Welsh Models L-1649 kits.) Fortunately Pythagoras did not put in an appearance while I worked out all this, my brain was already hurting quite enough.
Fortunately, the differences between the Minicraft and Welsh Model kits are not great so the various graftings went fairly smoothly. The major challenge was fitting the L-1649 wings to the L-1049 fuselage because not only were the wings different, they were set back further on the fuselage. So while the merging of the Welsh Models L-749 fuselage and Minicraft L-1049 wings went fairly well, the mating of the Minicraft L-1049 fuselage and Welsh Models L-1649 wings required major surgery.

After all the surgery and grafting the next challenge was in making all the surfaces smooth and ready for the white and metalic finishes, which tend to show up any flaws. One of these days I should write an article about how I achieve these finishes, but these are challenges that come with all airline models.
This brings me to the most horrendous part of making all three kits, the triple tails with their de-icing boots. There are decals for them on the decal sheets for Minicraft L-1049 kits but they show little interest in settling simply and easily where they are supposed to go. Liberal lashings of Micro Sol softened them up a bit, but then they lost all stickiness and waved around in the breeze when they dried. The only solution that worked for me was to scan and print out these decals on more friendly decal paper. It’s not something that I recall with any great happiness, and it made me ponder on the wisdom of my overall plan. Still, they look pretty enough when lined up together these days.