General Motors FM-1 in 1/72 by Hobby Boss made and painted by Dickson Oh
(May 2020)Let me introduce Dickson Oh, a good modelling friend who is at the other end of the modelling spectrum from me. I knock them out while Dickson makes little works of art. Hopefully Dickson will allow me to show more of his work here in the future but in the meantime, here he is with a recently completed project.
HobbyBoss
1/72 FM-1 “Wildcat”
The Kit
Very simply engineered, with less than 10 parts required to complete construction. As a result, there is an expected lack of detail, especially within the cockpit and in the some of the exterior panel lines.
Layout
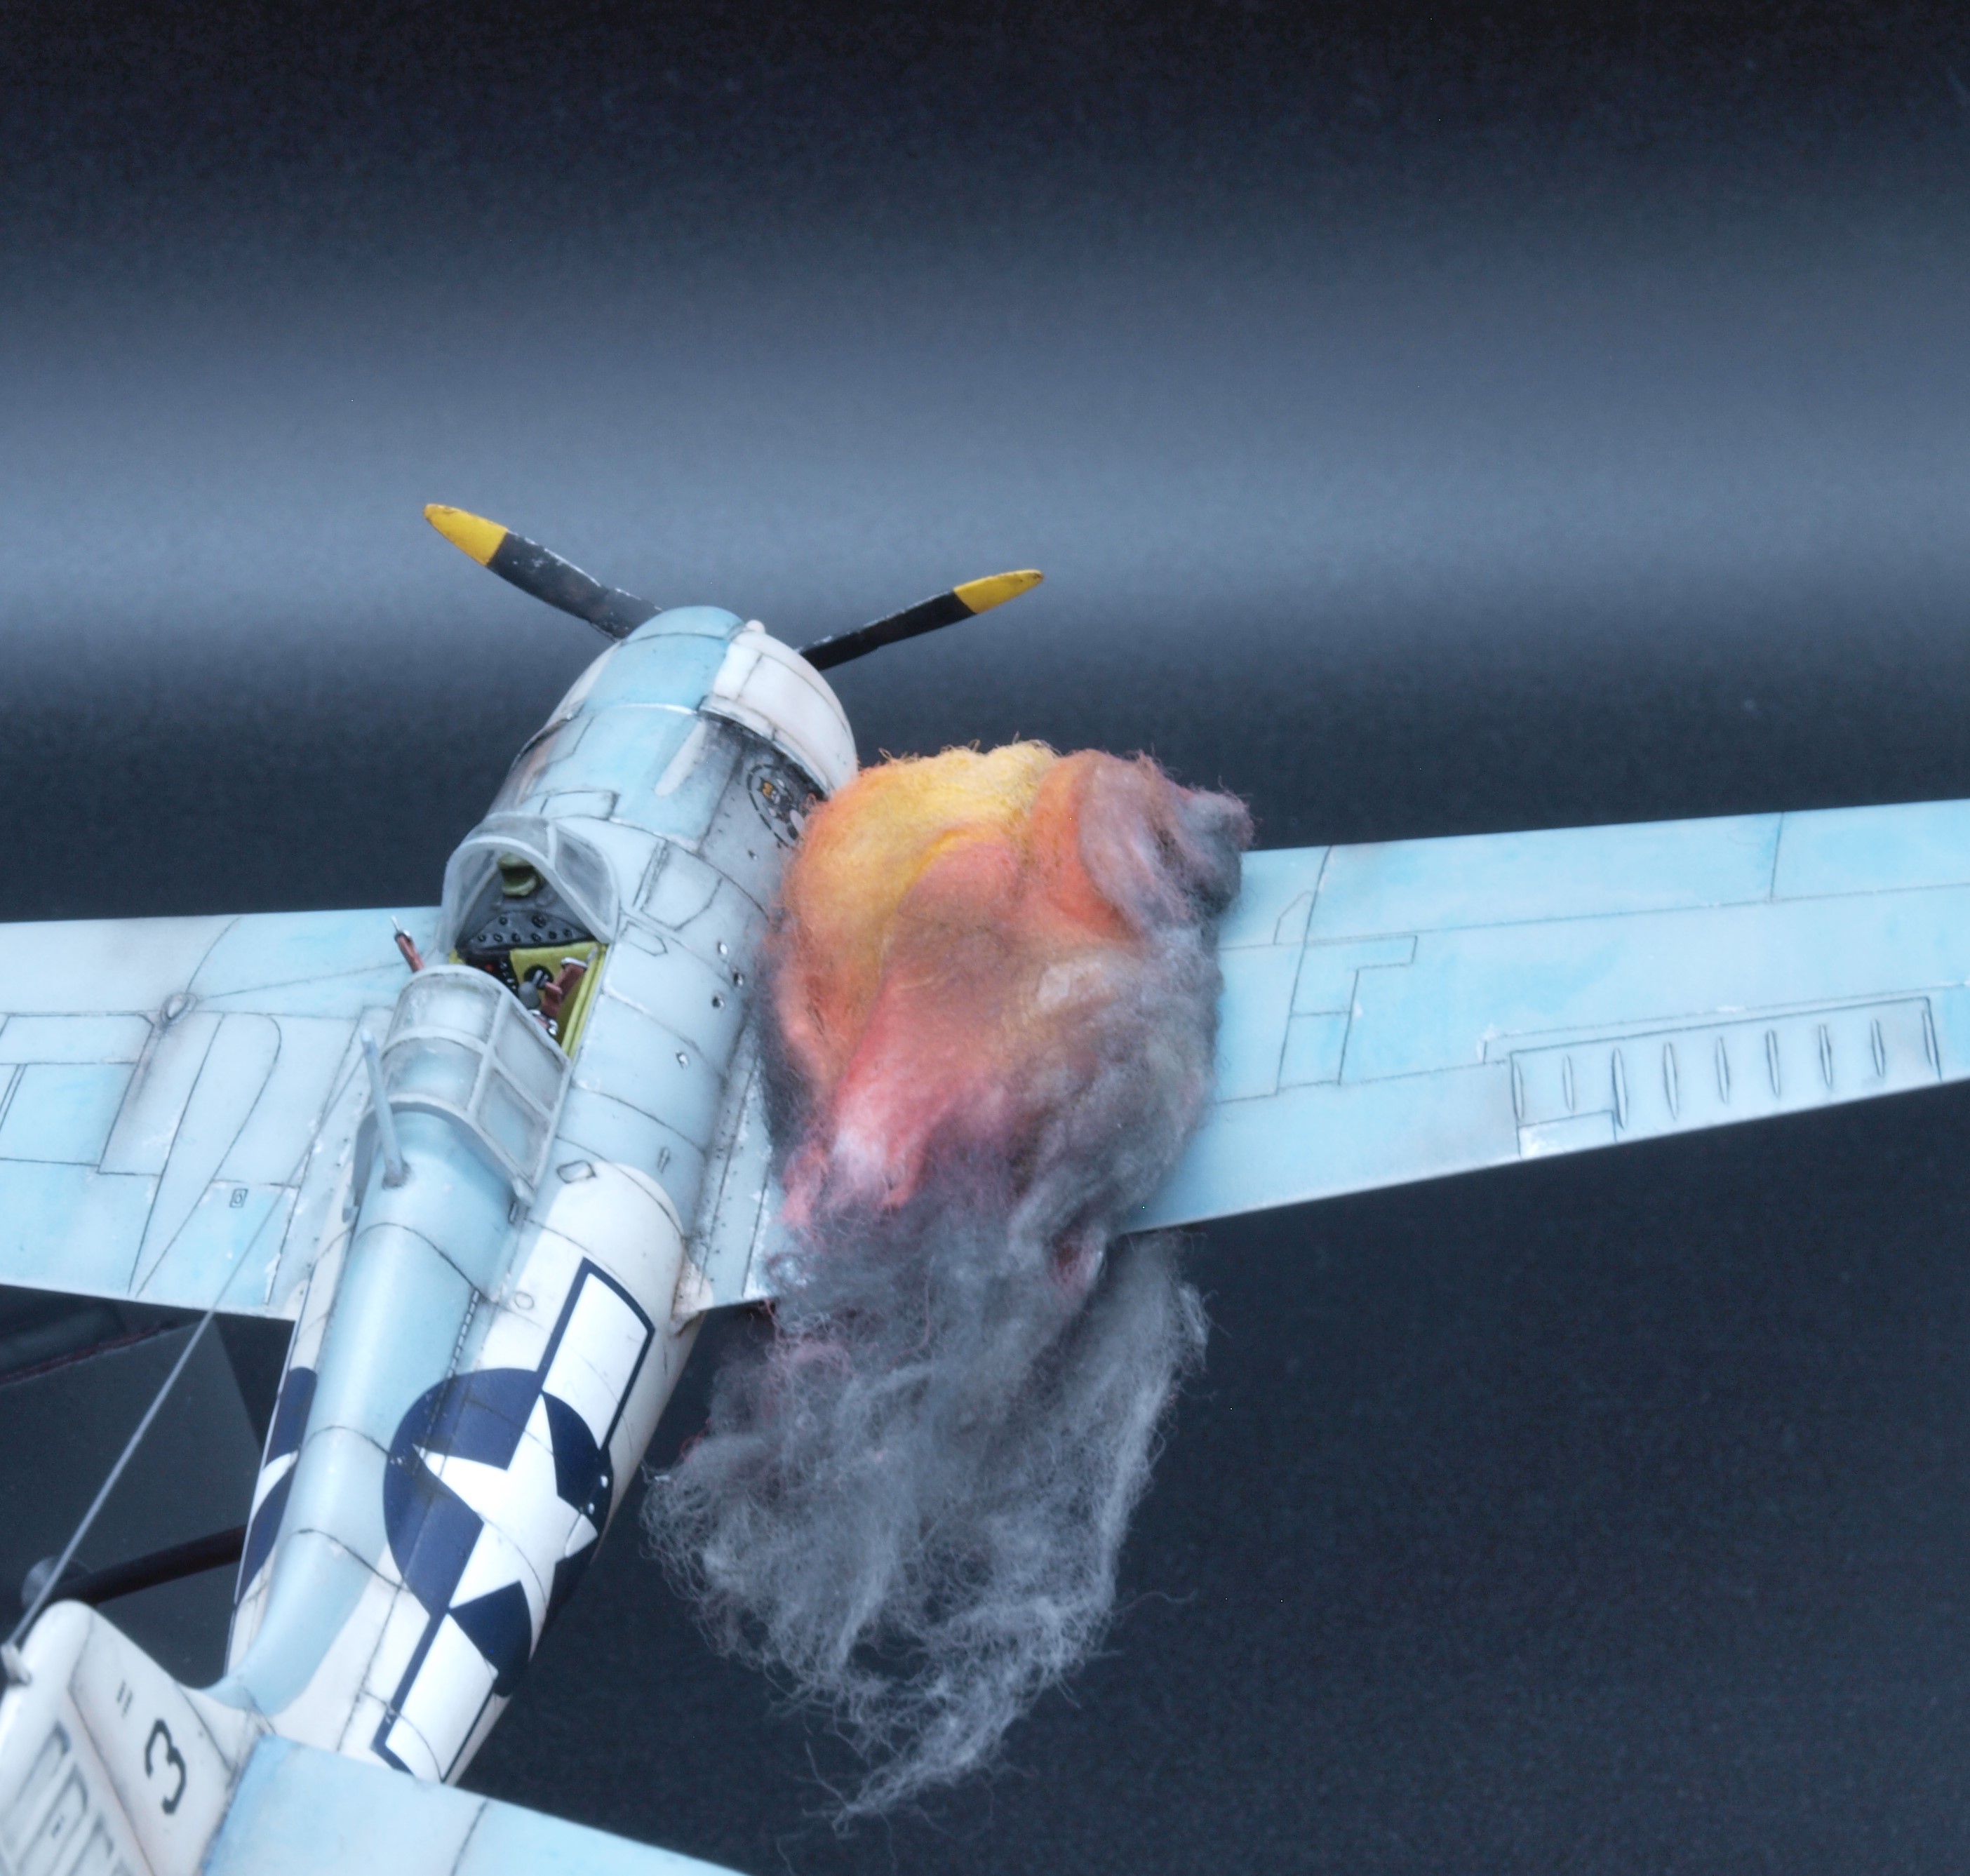
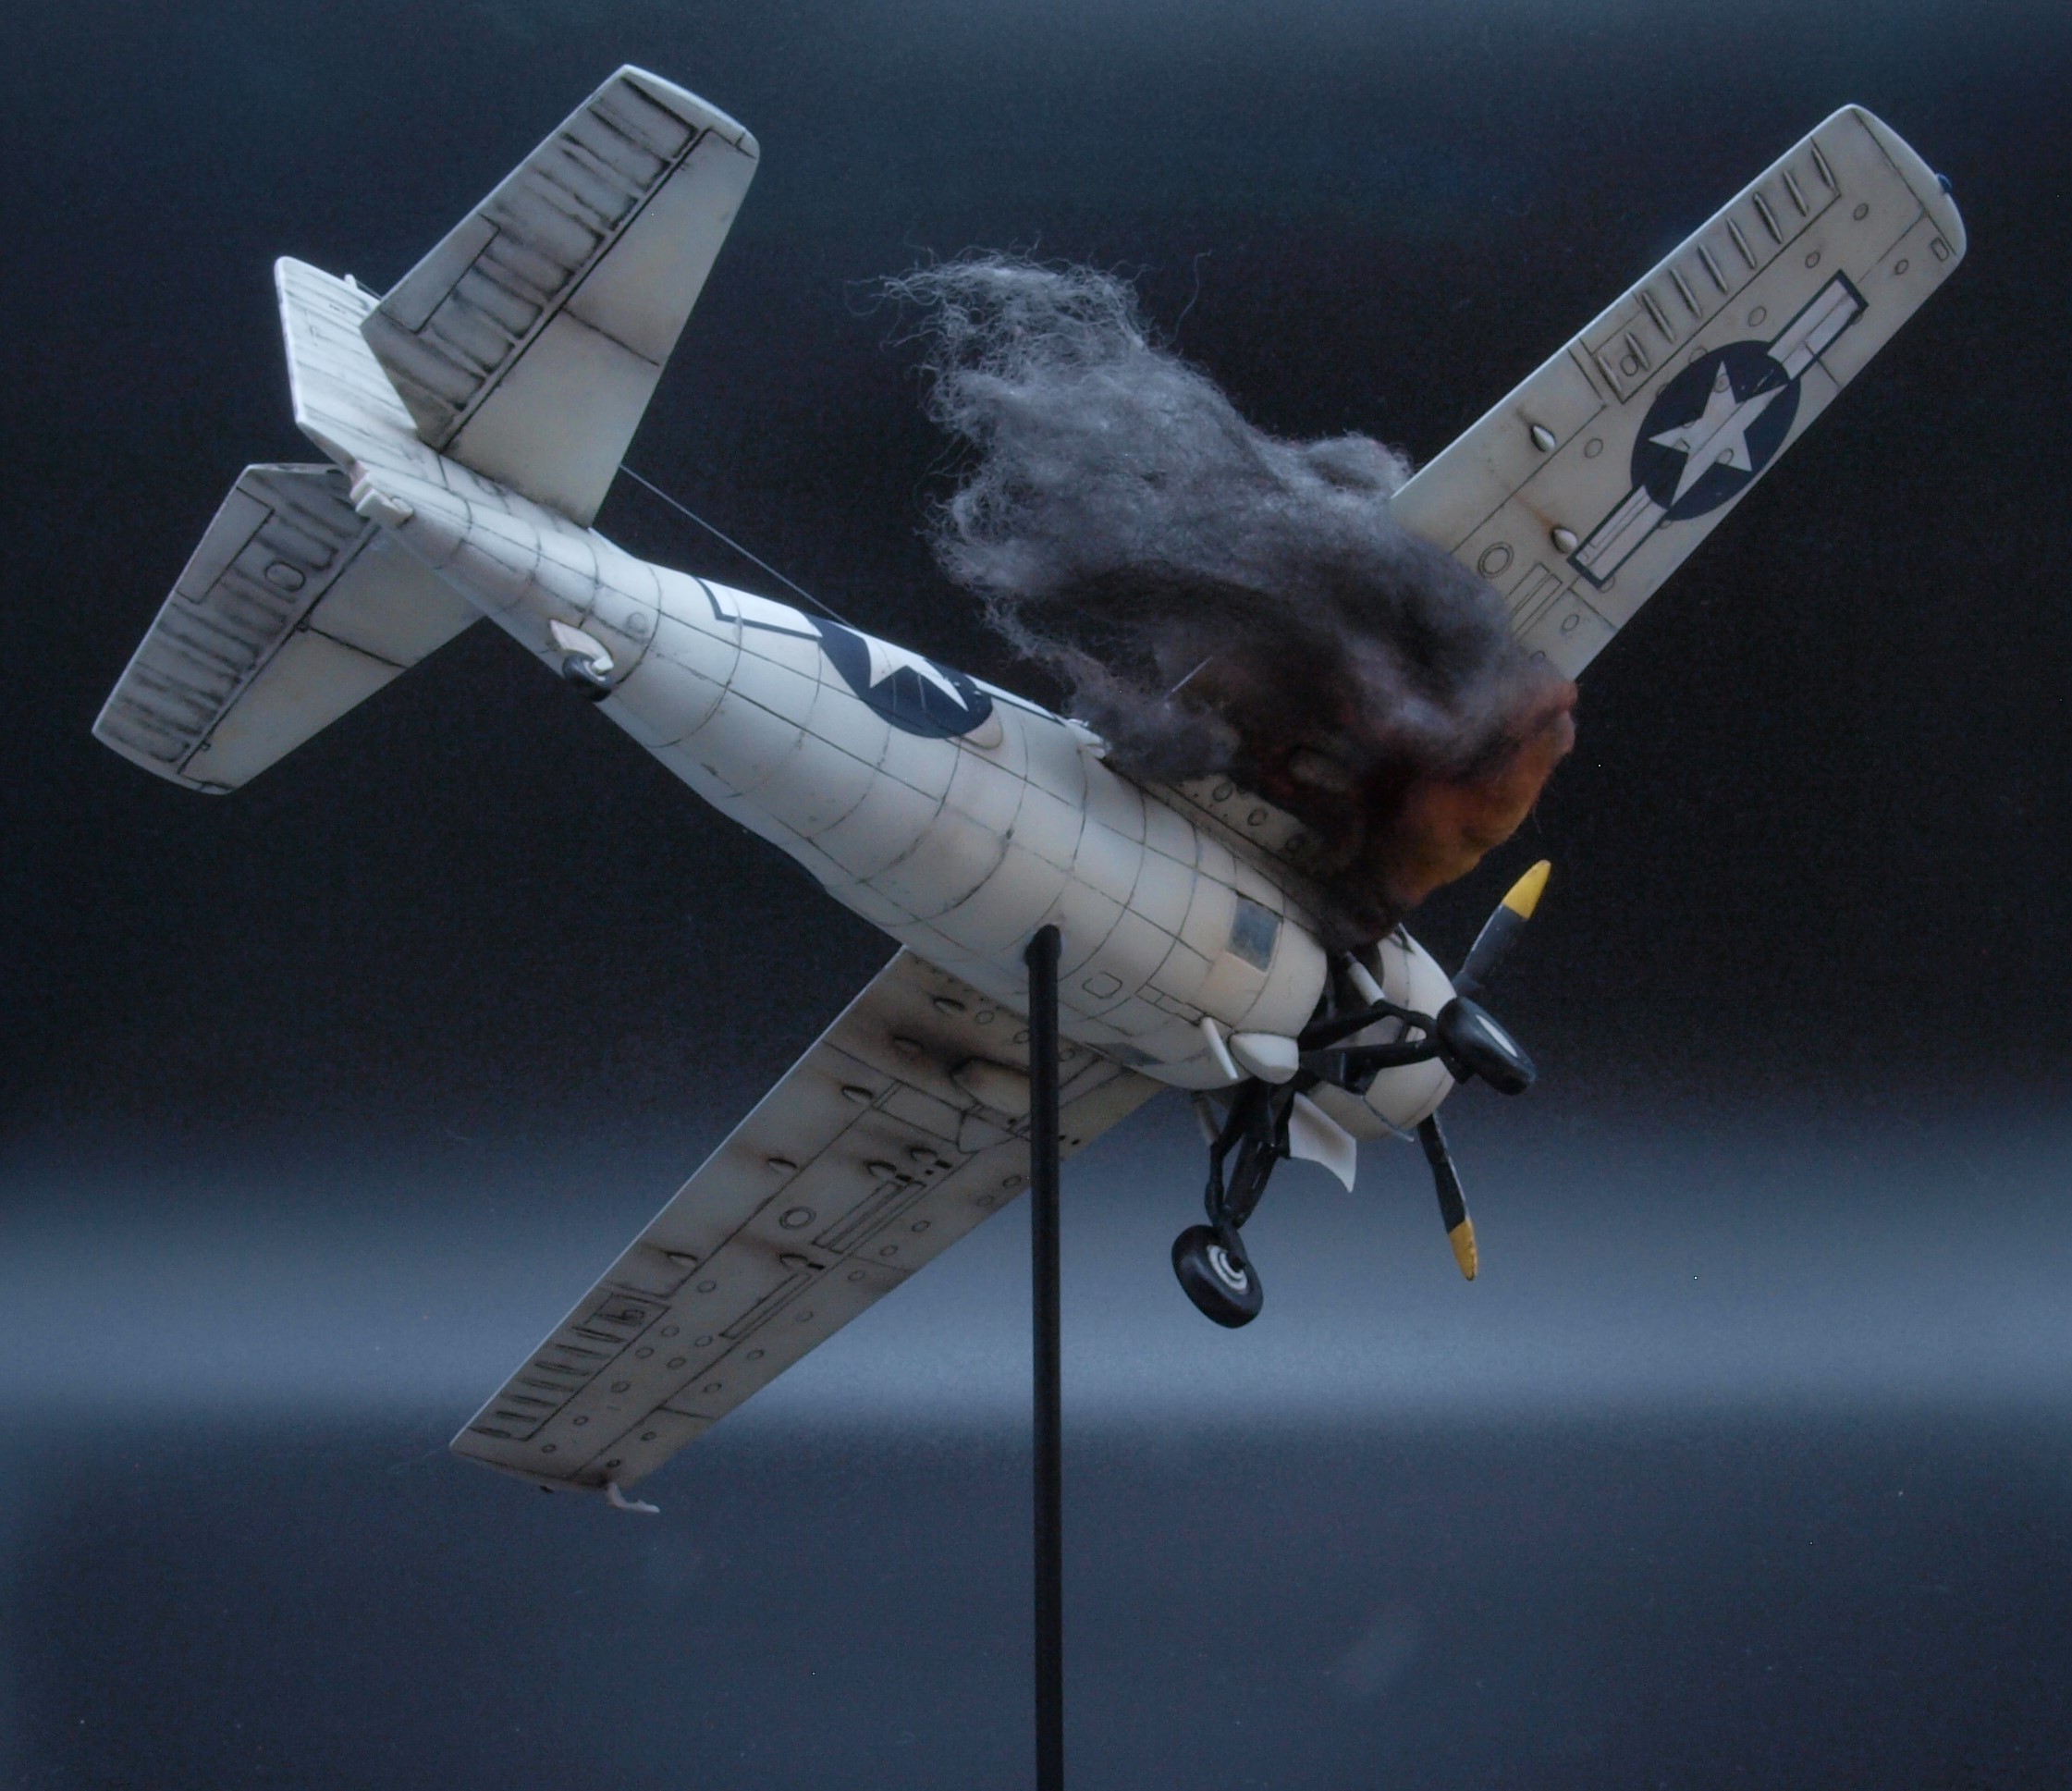
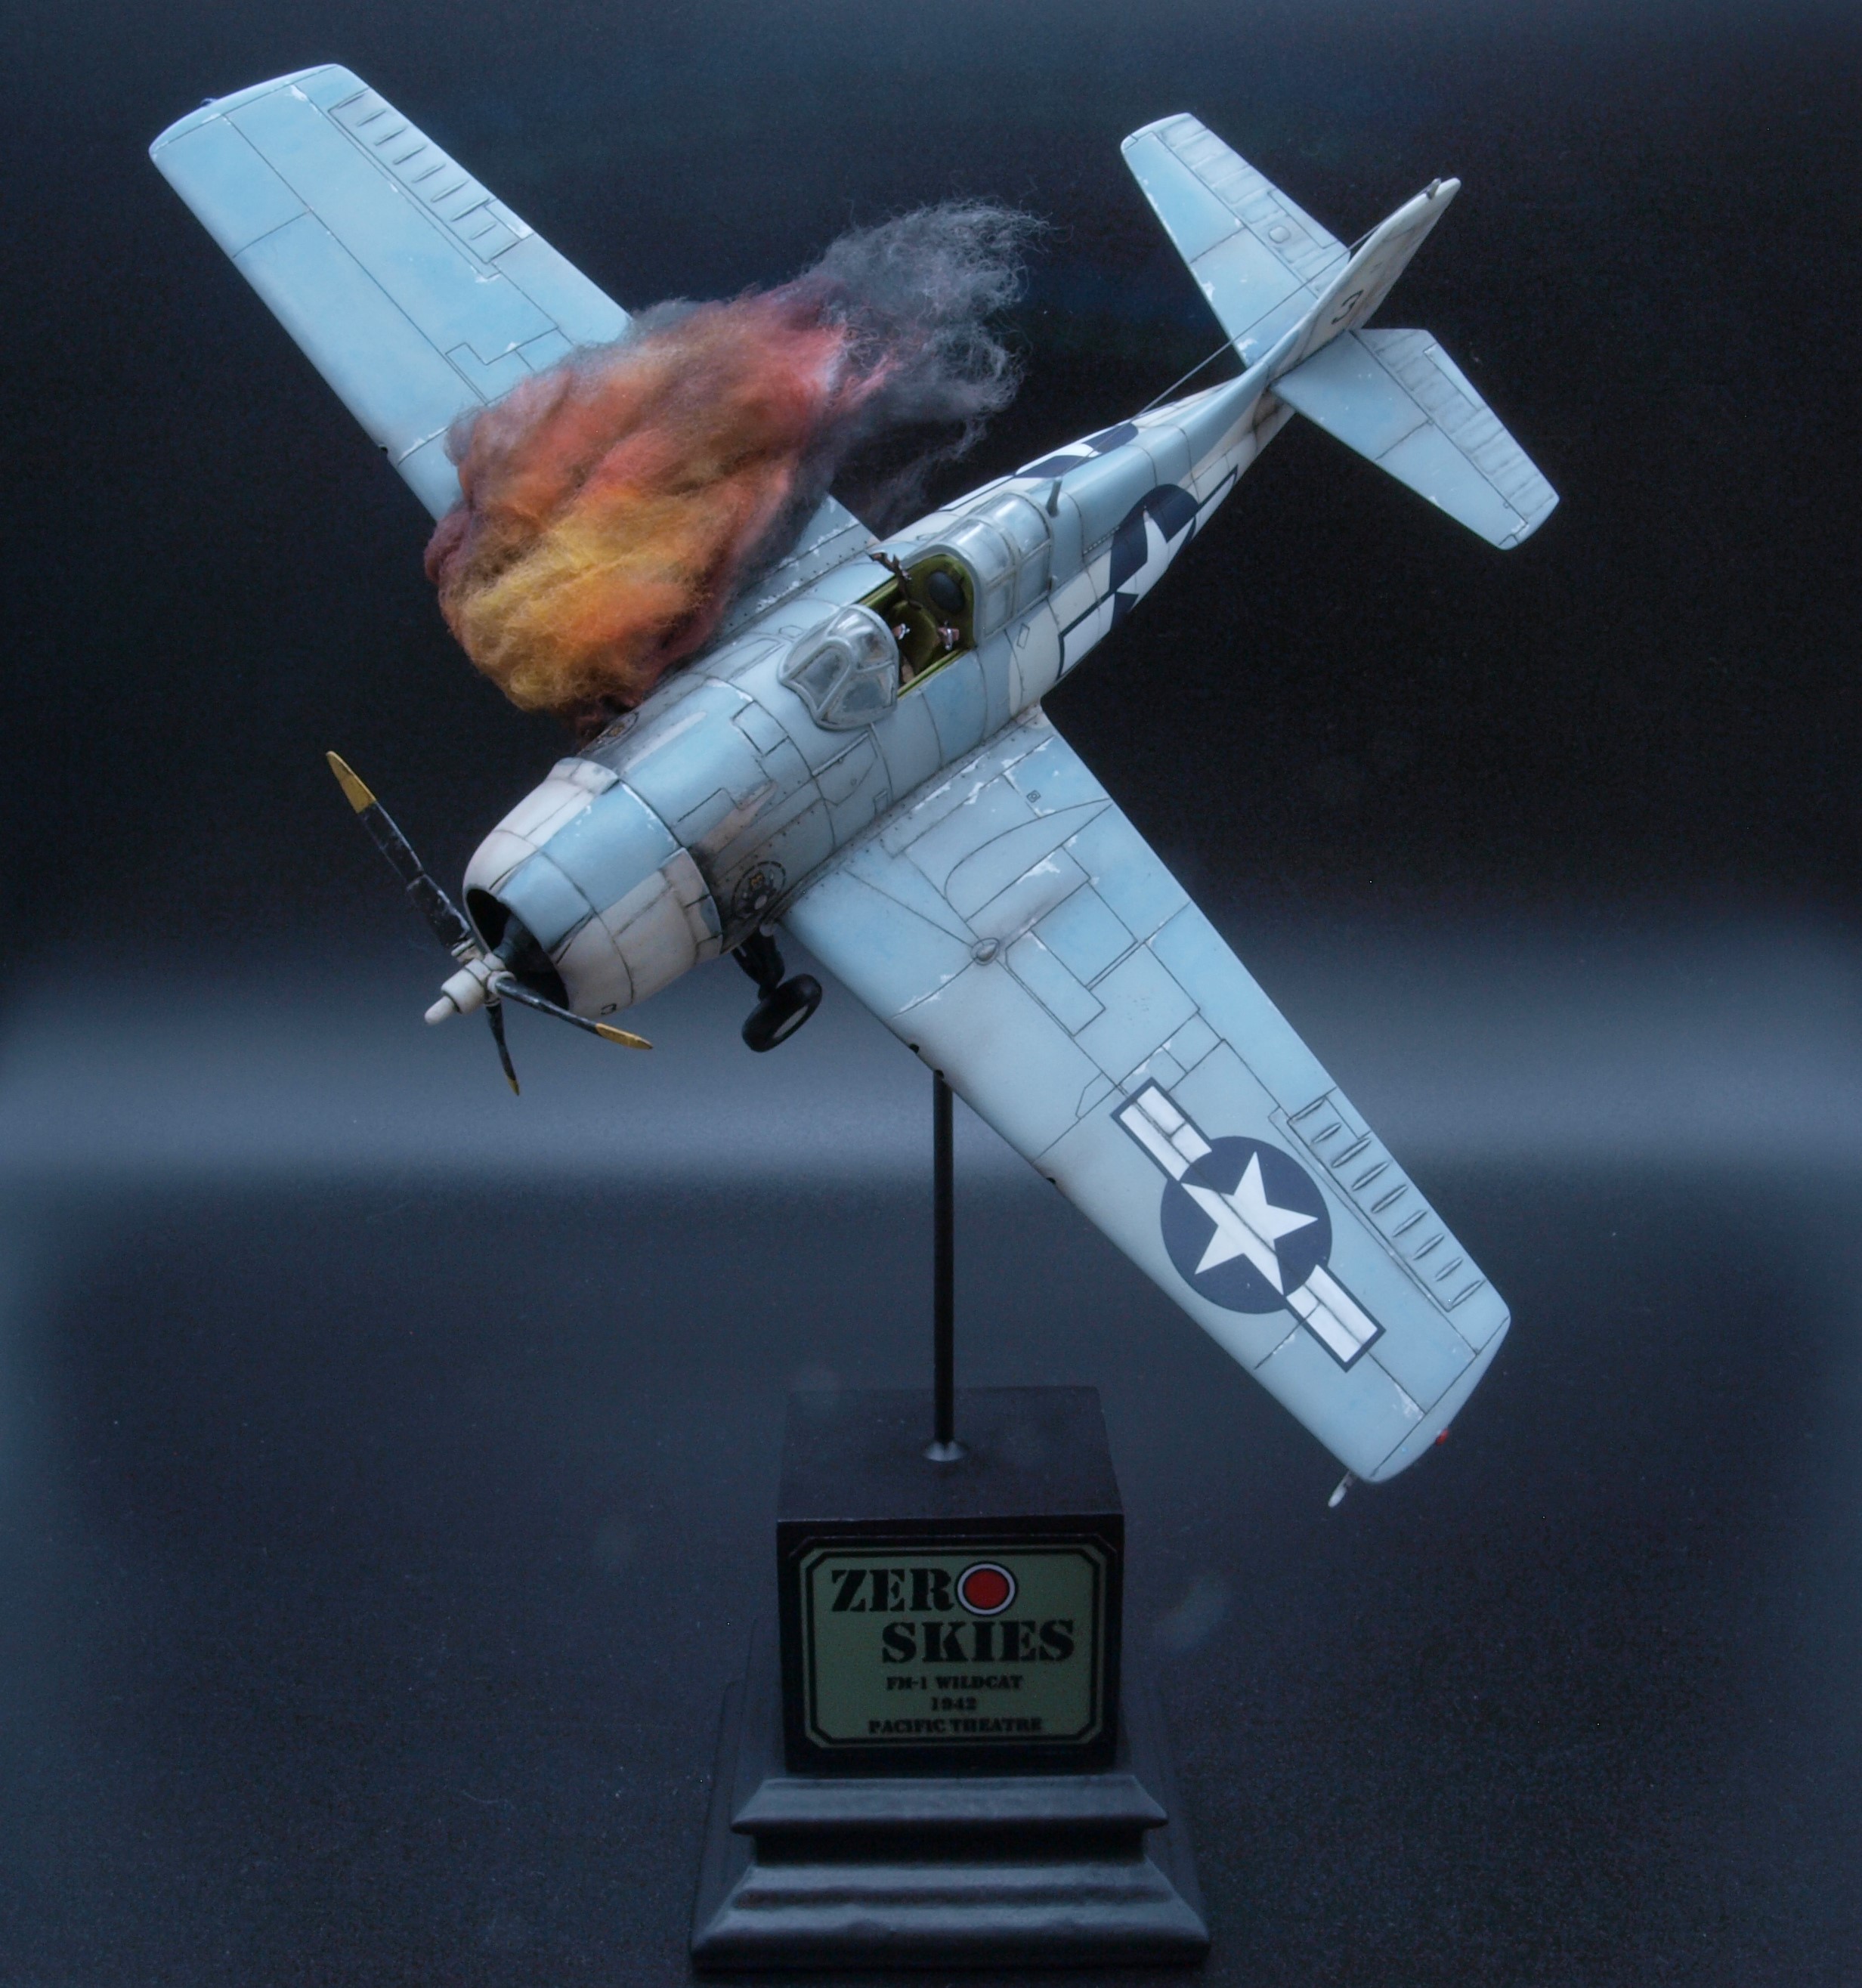
Being a figure painter, there was no way I could justify spending the money or effort painting a 1/72 scale pilot for a kit of this quality. Even more so given the lack of detail in the cockpit. There was only one option – depicting it in its final throes, abandoned by its own pilot.
Construction
The main body comes in two parts. Huge gaps where they go together, requiring filling with epoxy putty followed by re-scribing of panel lines over the belly of the fuselage. Otherwise straightforward with the bulk of your time spent correcting the former imperfections. I added some bullet holes on the fuselage where the fire was to lay, with some minor thinning of the hole’s edges with a Dremel tool. Some seatbelts needed to be made and I stumbled onto a useful video on youtube, modifying this modeller’s approach to suit my needs. See link below:
Painting
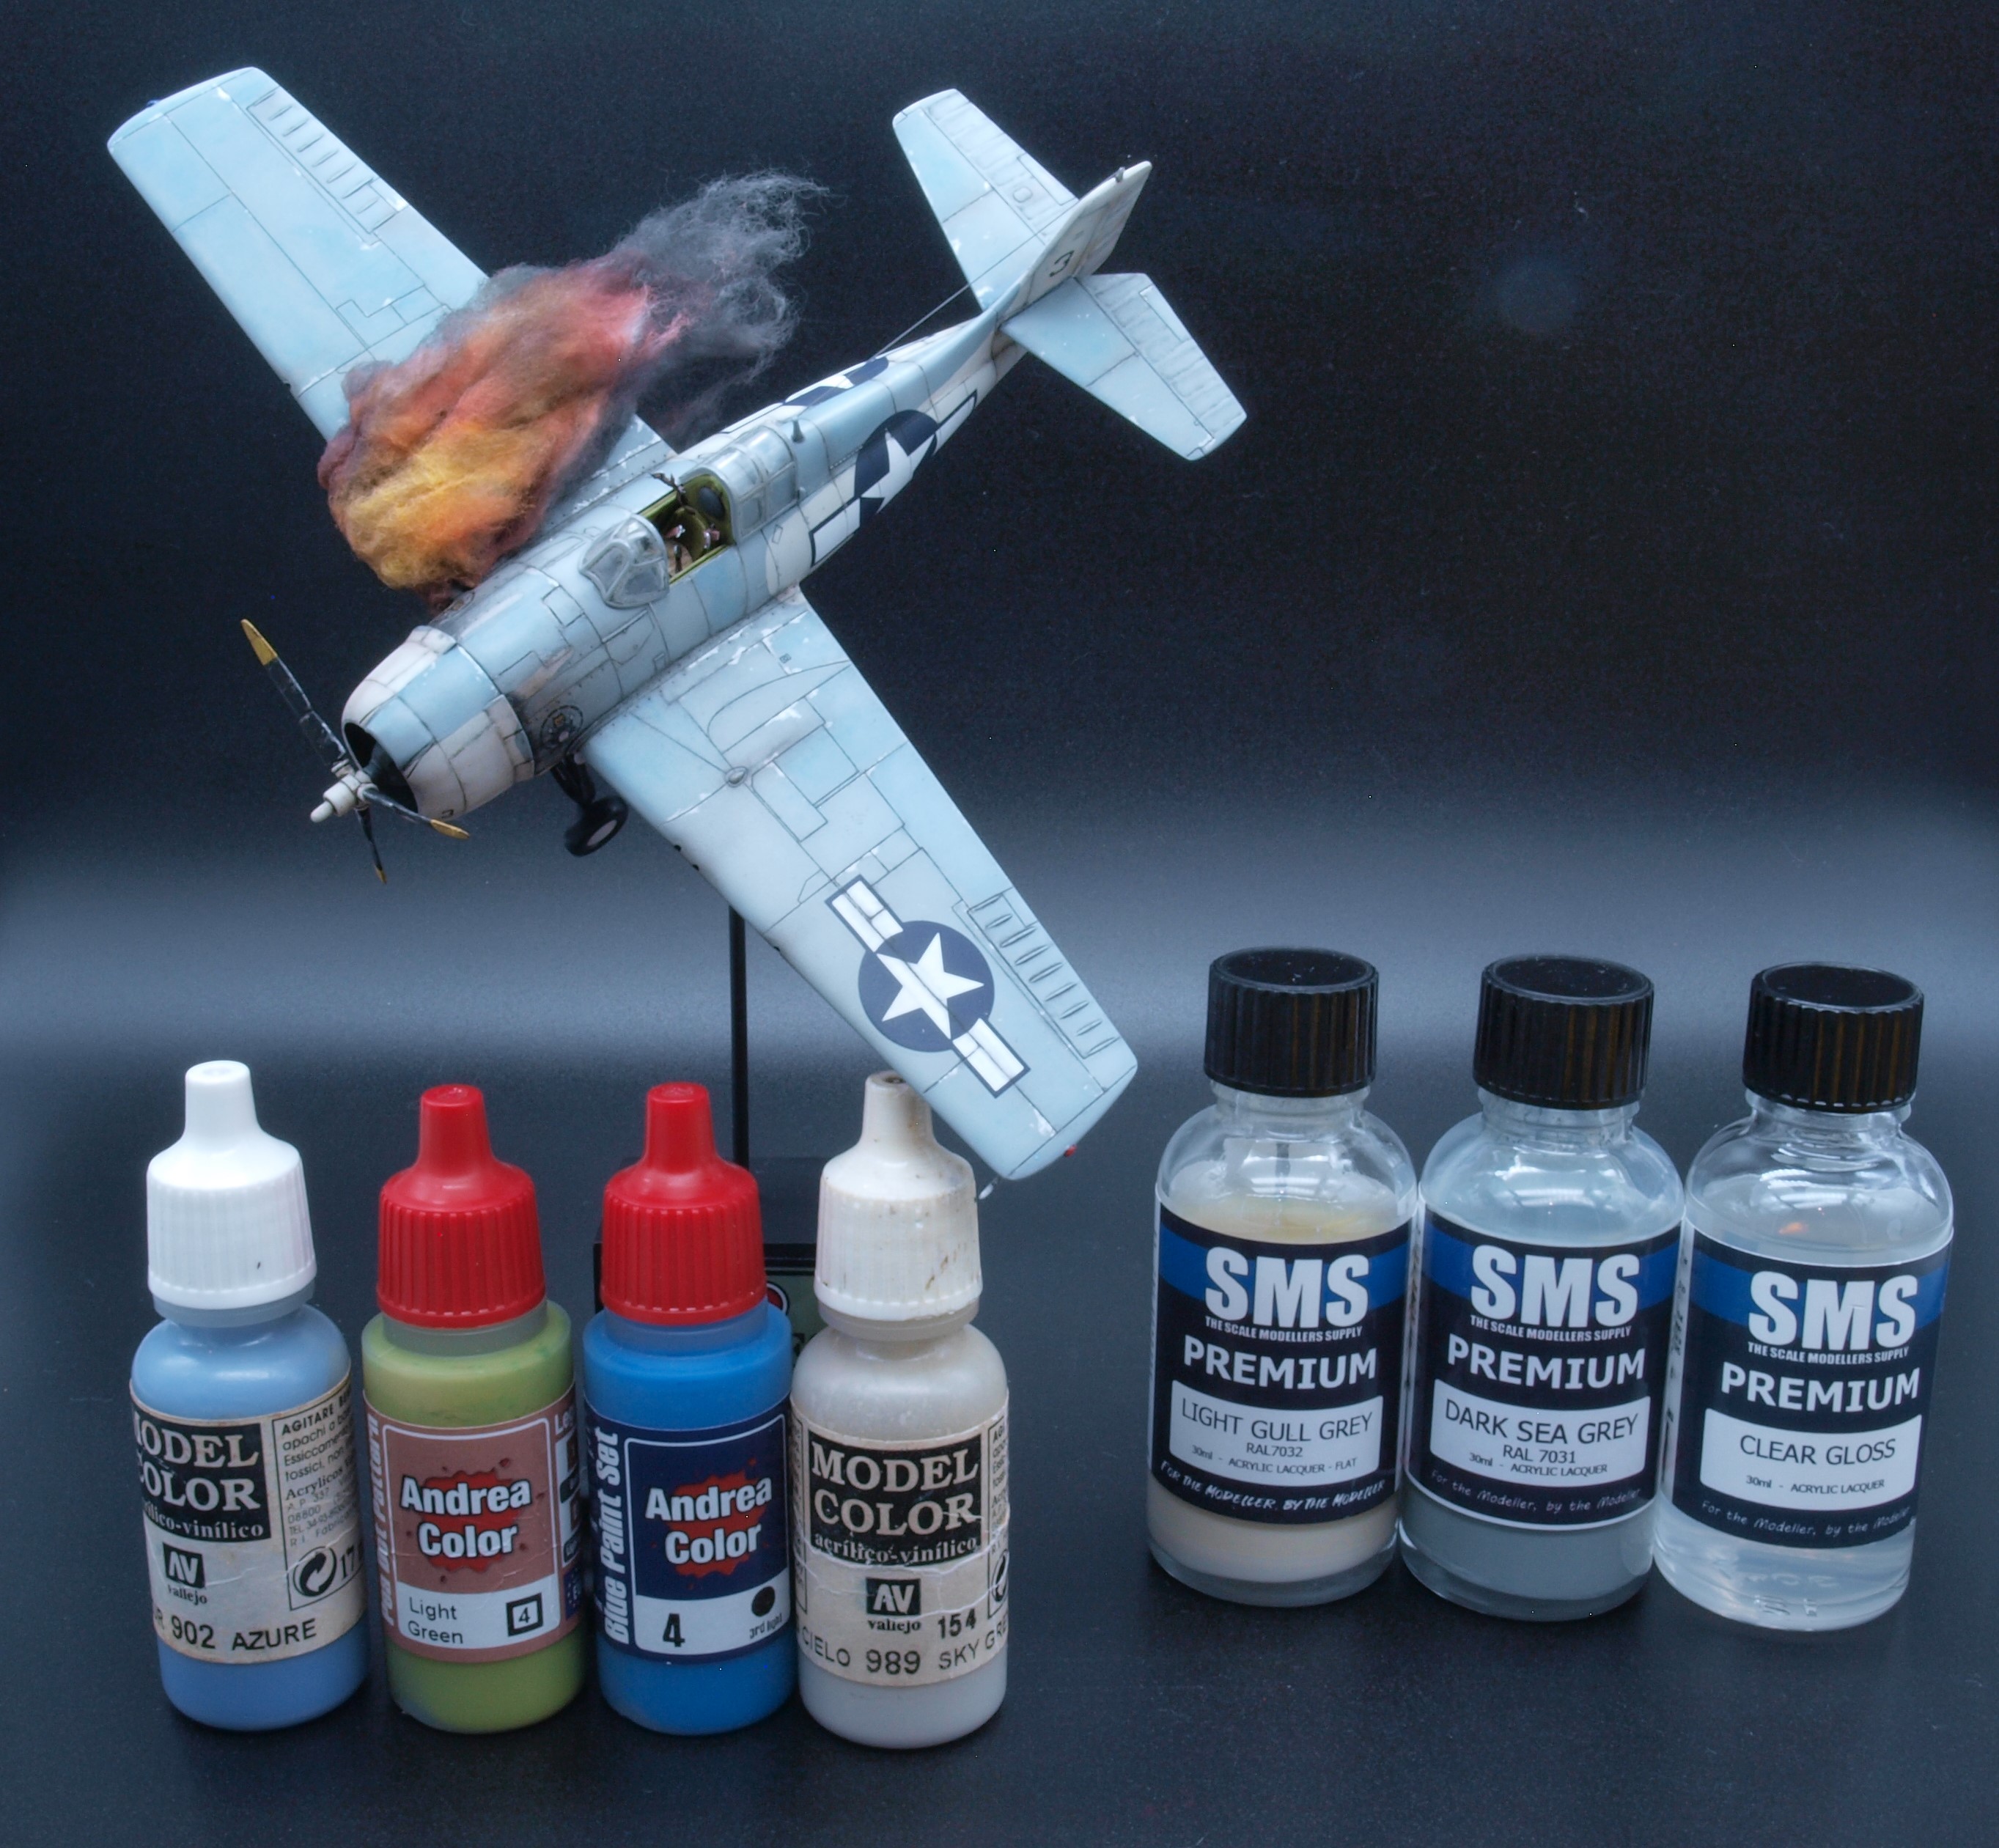
SMS paints used after priming, with Light Gull Grey followed by Dark Sea Grey after masking the areas off with SMS masking putty. The putty was easy to use but should be painted over as soon as possible to prevent sagging and loss of contours. The paints were lightened with Radome to highlight panels after the base coats were applied. About 2-3 coats, each with a subsequently higher concentration of Radome (i.e. subsequent coats lighter than the last).
Details were then painted in with a variety of acrylic paints (Vallejo mostly), including impressions of meters and cockpit details, followed by chipping with an acrylic metallic paint, with heavier applications on areas of higher human traffic. Final touches were then applied with a general raw umber oil wash (light), pinpoint washing with black oil paints, followed by rendering with various hues of blue and yellow oils to vary the tone of the greys in random panels, breaking up the monotony of the base colours. These planes saw heavy use after all, and I sought to introduce as much variation in colour within a small area to elicit interest in an otherwise boring subject. Exhaust streaks and the like were also applied at this stage.
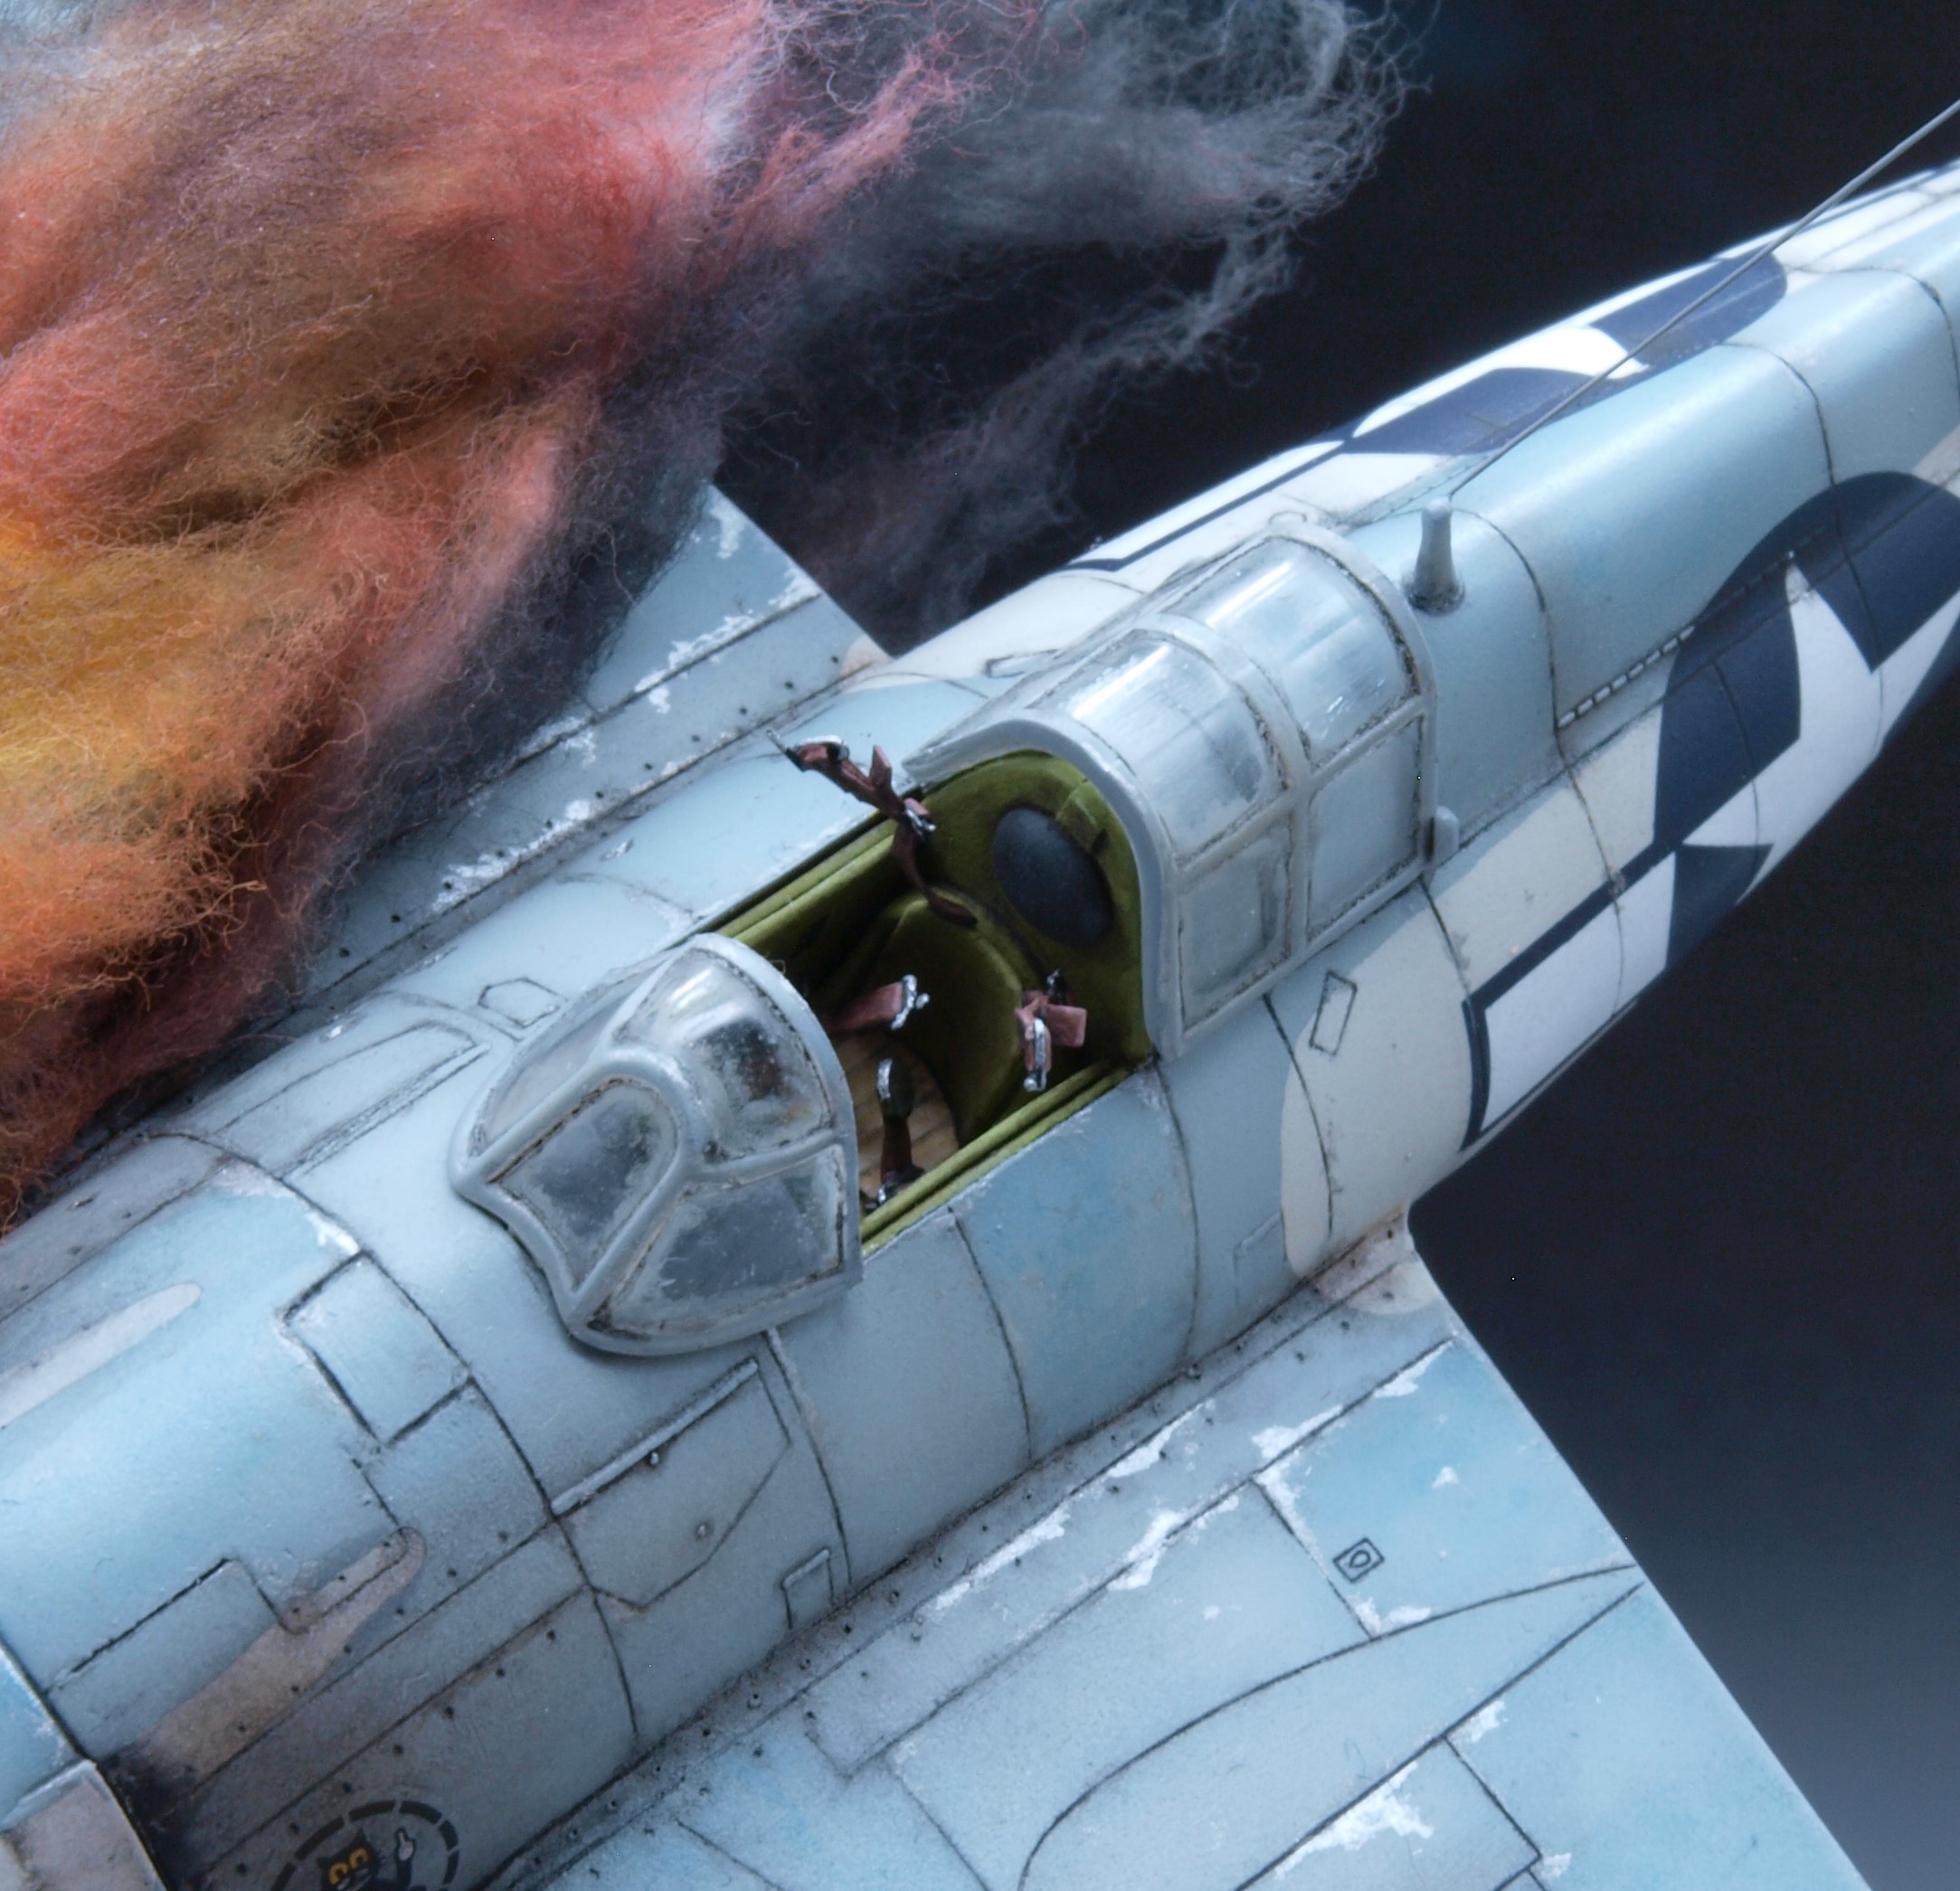
The canopies were of course masked and treated as per the body. Once the masks came off, a mist of Tamiya buff was sprayed over the clear parts followed by a rough clean up with thinner on a Q-tip to complete weathering.
The seatbelts were then constructed, mostly from thin graphic tape and copper wire, looped around a thing Evergreen styrene strip then cut and superglued together to form the buckles. Graphic tape was then threaded through these buckles and secured in place with a single pin (copper wire once again) before further gluing and trimming. The graphic tape was tough enough to hold a shape of “blowing in the breeze” to achieve display purposes. These were then primed and painted by brush.
Finally, once all the elements were put together, a tuft of cotton wool was manipulated into shape, then airbrushed with red, increasing amounts of yellow towards the centre of the fire, then finally black around the periphery and in some random spots over the fire’s centre. It was attached with thin strips of double-sided tape, further manipulated to achieve the final look, then secured on it’s loosest edges with white PVA glue. Care with amount of glue used is critical to prevent bunching or clumping of the cotton wool.
Overall impressions
As the first aircraft model I have constructed in the last 15 years, this was a fun re-entry into this field. I think with the right finish, even a kit of this dubious quality can present some fun. More so arm one with the confidence to experiment with various modelling techniques you would otherwise refrain from executing on a good kit you’ve been dying to build. This was a shit kit but I levelled up. Conclusion: win.
Keep growing in the hobby and stay safe, everyone.
And FFS, be excellent to each other!

 Keep growing in the hobby and stay safe, everyone.
And FFS, be excellent to each other!
Keep growing in the hobby and stay safe, everyone.
And FFS, be excellent to each other! 