(November 2003)
In between the Mosquito and the Vampire the deHavilland company had spare design capacity that was turned to several projects, finally emerging as the DH-103 Hornet. It was a highly evolved piston engine fighter designed around two especially developed Merlin engines of low frontal area and calling upon the experience gained from designing and perfecting the Mosquito. In many ways it appeared to be a cut down version of the Mosquito but it was a completely new design, streamlined in almost every possible way. It was intended to serve with British forces fighting against the Japanese in the Pacific from 1946 and therefore had a very long range (particularly for a British fighter) and was very agile to allow it to compete with traditionally nimble Japanese fighters. The design incorporated extremely efficient deHavilland propellers rotating in opposite directions that improved its performance and handling. Many people consider it to be perhaps the most elegant aeroplane designed during World War II.
The Hornet project began as a private venture and the Air Ministry saw a mock-up in January 1943. A specification was written around the concept in June 1943 and the prototype was rolled out on 20 July and flown for the first time on 28 July 1944. It was capable of climbing at over 4500 feet a minute, having an operational ceiling of about 35,000 feet and a range, with drop tanks, of over 2500 miles. Construction of the first production Hornet F.1 began towards the end of 1944 and was delivered to the RAF on 28 February 1945. Orders were placed for 500 Hornets, a mixture of F.1 fighters and PR.2 reconnaissance versions but, with the end of the war, only 60 F.1s and no PR.2s were produced.
The first squadron to be equipped with Hornet F.1s was No.64 which flew nine of them in the Victory Fly Past over London on 8 June 1946. F.1s also served with No.226 OCU and then with No.19 Squadron during October 1946, followed later by Nos 41 and 65 Squadrons. In 1950 the F.1s were declared obsolete and replaced by the later F.3s. The Hornet was also developed into three versions of the Sea Hornet, which is another story.
Like many people, I share the view that the deHavilland Hornet is one of the most elegant aeroplanes ever made. I’ve been hoarding two or three old Frog Hornet F.3s for decades with the intention of making them as soon as I could figure out how to overcome several problems with the kit and I also bought, many years ago, a conversion set to turn the F.3 into a Sea Hornet NF.21. If the stub exhausts in the old Frog kits hadn’t been so awful I would have made them years ago but I’ve already laid to waste a couple of kits in trying to get the exhausts right so I’d decided to wait for some kind of miracle to solve the problem.
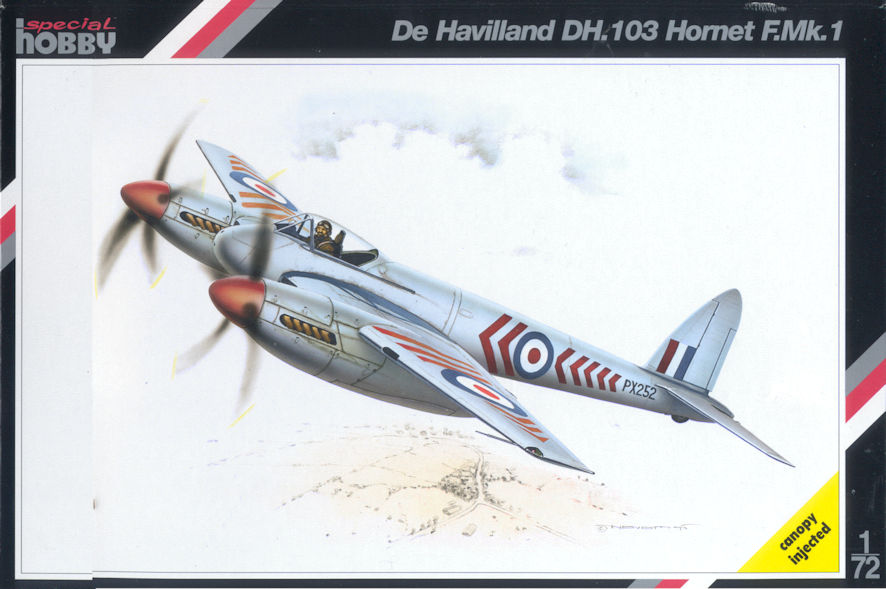
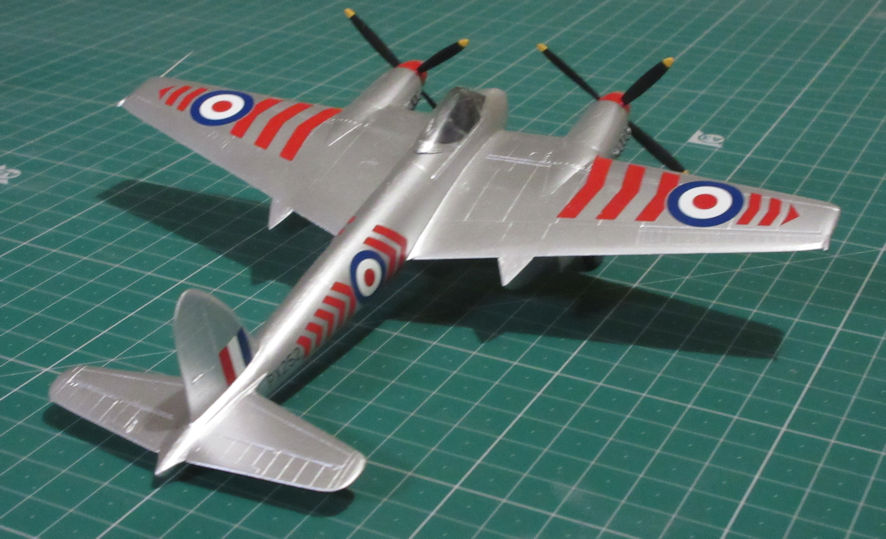
And then the miracle arrived. In the past few years the Eastern European companies have been turning out new versions of old Frog kits and they finally got around to the Hornet. All those old and faithful kits that have been waiting patiently for me to get around to making them have had to wait because, as soon as I opened the box of the new Special Hobby kit, I was overcome with the irresistible urge to make it. This came partly from the fact that it was a Hornet, partly because the mouldings are so beautiful and promised so much and finally because of the three colour schemes offered with the kit, one was all over silver that promised to be easy to complete quickly without having to go to a lot of trouble with more complex colour schemes. The mouldings are outstanding with delicate engraving, the kit has moulded and crystal clear transparencies and a lovely decal sheet offering three options. There is also a bag of outstanding resin parts including accurate and very fine exhaust stubs that put the old Frog kits to shame. The transparency moulding includes parts for the NF.21 so I expect there will be more versions to come from Special Hobby that will probably make it possible to construct all five versions that saw service.
Having said all that, this is not an easy kit to put together. Apart from major items like the wing halves and fuselage halves almost nothing just goes into place without a great deal of patience sapping test fitting, delicate surgery and then test fitting again until parts fit together properly. Several examples include the holes in the engine nacels for the stub exhausts that are not quite large enough for the stubs to fit and so they need gentle enlarging before the pieces fit. The fuselage nose is solid, possibly so that the PR version can be made, and the little bag of resin parts includes a new under nose, delicately moulded with the four cannons. This means cutting a section out of the nose and fitting the new part and, here again, the main part of the process was testing to see if the resin part fitted, figuring out where the next bit of plastic had to come from to make the fit better and so on until it did fit almost perfectly. Perhaps the most frustrating part was the cockpit canopy which simply refused to fit so that both it and the fuselage to which it attaches have to be gradually brought into conjunction. I had that almost right when the admirably thin plastic of the transparency began to crack from all the handling and it had to go on whether or not it was perfect. The one area where I failed to test, test, and test again was getting the lovely cockpit with all its details into the fuselage properly and as a result the armour plating behind the pilot doesn’t sit as high up in the cockpit as it should. Next time… The most important part of this process was getting the wings attached to the fuselage because, if I had just stuck them on to suit the plastic, the model would have had an alarming dihedral whereas the real thing has only two or three degrees. Correcting this was a major effort including the construction of a spar to the right dihedral and then endless working away at the wings until they finally fitted snugly and at the right angle.
As for the rest, the all over silver was achieved with good old Humbrol 11, but the model had to be carefully smoothed off first after all the surgery so no blemishes were visible. The decals fit like a charm and the resin undercarriage wheels are a joy to paint and attach. The end result; an elegant little model that just about depicts the elegance of the original.