(August 2012)
There comes a time in the construction of any model when all the seam lines have been filled, the bit and pieces have been stuck on more or less straight and the paint scheme is completed to a standard that DaVinci would be proud of. In other words, the model is perfect. Then comes the misery of applying the decals. It’s enough to drive you nuts and sometimes I wonder if it would be nicer just to leave the model in that kind of pre-completed state, just to avoid the pain that decals are likely to cause in the application thereof. It is during this phase of the operation, when curses and oath resound around the house that my lovely wife asks me if I am enjoying my hobby.
So, let me demonstrate the pain that decals cause me by recounting the tale of two models I have been working on of late.
The first is a fine little Roden Fokker E.V. (I was going to call this a Kraut Projekt but it didn’t seem very original.) I’ve always thought that this little Fokker fighter was a delightful looking thing and at the cutting edge of aeronautical knowledge at the end of World War I. If the war had gone a little longer or if there hadn’t been that problems with the wings breaking up, we might have avoided almost two decades of biplane fighters before designers began to wake up to themselves in the mid 1930s. (As an aside, I read that the problem with the wings was that the company that was putting the wing spars into the rest of the wings found that the spars wouldn’t fit properly so they planed some of the wood off the spars to make them fit. Not a very Germanic way to do things, it seems to me).

I’m sure there are experts who know everything there is to know about the lozenge camouflage fabric that was use on German aeroplanes towards the end of World War I, and I’ve seen that you can buy decal sheets that replicate the various patterns and colours that were used. Wishing to avoid all that, I opted to use the decal sheets in the kit that already had the lozenge patterns for the fuselage, fortunately the wooden wing was not covered with fabric and so they were simply painted green. Three cheers!
Being suspicious of almost all decal sheets that come my way I tested the sheets that came with this kit, using a decal from one of the other options offered and, as I had feared, it disintegrated. There is a solution for this problem, called Microscale ‘Liquid Decal Film’. It is a simple product and simple to use. You paint some over the decal sheet and it protects the decal and holds together decals that would otherwise disintegrate. It’s mainly used when producing your own decals, but it can also be used to save old decals. Having applied a coat of this stuff to the decals I tried another excess-to-requirements decal from the sheet and it still blew up, so I applied another coat and that seemed to solve the problem. However, this brought about it’s own problems.
Now the decals were thicker than they should have been and they showed no interest in bending to fold around the curves of the fuselage, a problem that is usually solved by liberal application of Microsoft ‘Micro Sol’ which softens the decals. Usually, if you apply too much Micro Sol to decals they just shrivel away to nothing, but in this case it seemed to make the decals only slightly more malleable, but enough to go onto the model. Then, however, the glue on the back of the decals was not strong enough to hold them in place, despite my vociferous encouragement. There is a solution to this problem too, stronger glue. Get a dish of water and put a little bit of something like Aquadhere in it, the proportions depending on the strength of the glue you need. Just apply it as a wetting agent, then apply the decal over it and press down until the decal stays in place. All very good in theory but, for this model I was reduced to applying undiluted Aquedhere, and then offering vociferous encouragement, which finally worked.
This process took several months to complete, partly because it took much longer than normal for the decals to finally be set and settled properly and partly because I could only take so much stress at a time from such a tiny model. But finally I prevailed and the outcome is a reasonable looking little model.

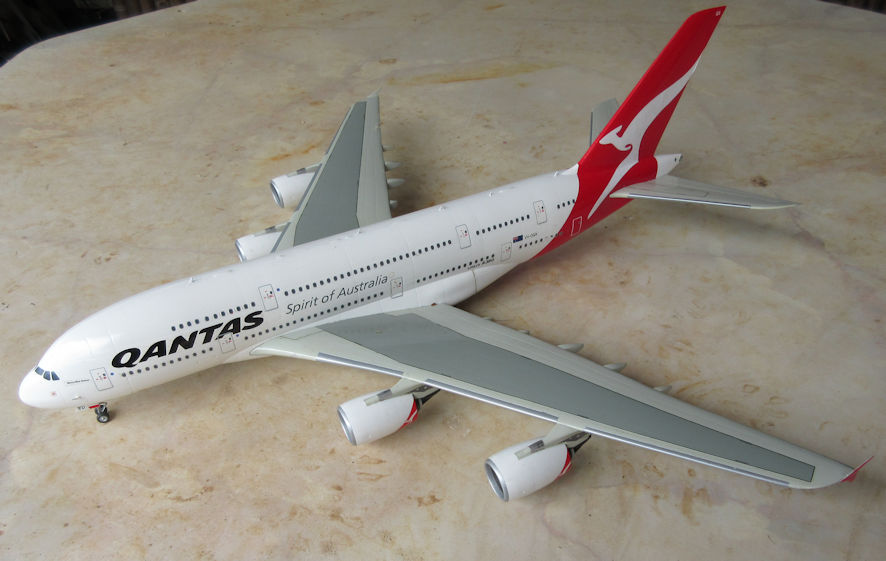
More recently I’ve been working on a model of an Airbus A.380. I bought the kit on one of our trips into the wilderness of suburban Melbourne a few years back before the real thing had gone into service so it comes with two sheets of decals for one of the prototypes. One sheet is for most of the details on the fuselage, the other is mainly the line work for wings and tail. Since then a few aftermarket decal sheets for A.380s in service have become available, including good sheets for Air France and Qantas. Thus armed, I started work.
The main thing to know about the A.380 is that it is a big aeroplane and so the model is big too. Not as big as a 1/72 B-36 but large enough to be difficult to manipulate in a limited workspace. Having got the fuselage, tail and wings all painted the right colours, and finally defeated the obdurate undercarriage, it was finally time to confront the decal sheets. The Qantas decal sheet is pretty good, giving all the basic markings for the first Qantas A.380, VH-OQA which Qantas named the ‘Nancy Bird Walton’ and the decal sheet called the ‘Nancy Bird Watson’. Never mind, yet another obstacle to be overcome. On the plus side, the decal set includes two sets of the big white kangaroo for the tail so that the white is good and dense, as it is on the real thing. (Hawkeye would so well to follow this example as their tail kangaroos are always too thin.)
The decals for the Qantas set are commendably thin so they settle nicely on the model without the need for Micro Sol. This also means that they are difficult to handle and any slip-up can result in the decals wrapping up on themselves or distorting with the slightest provocation. My first attempt to use them was some upper deck windows and doors which folded up on themselves, a problem that I was finally able to overcome with the use of harsh language. After that I applied the windows and doors in smaller sections which were safer to apply but made it much more difficult to line up well. This process took the best part of an afternoon to complete.
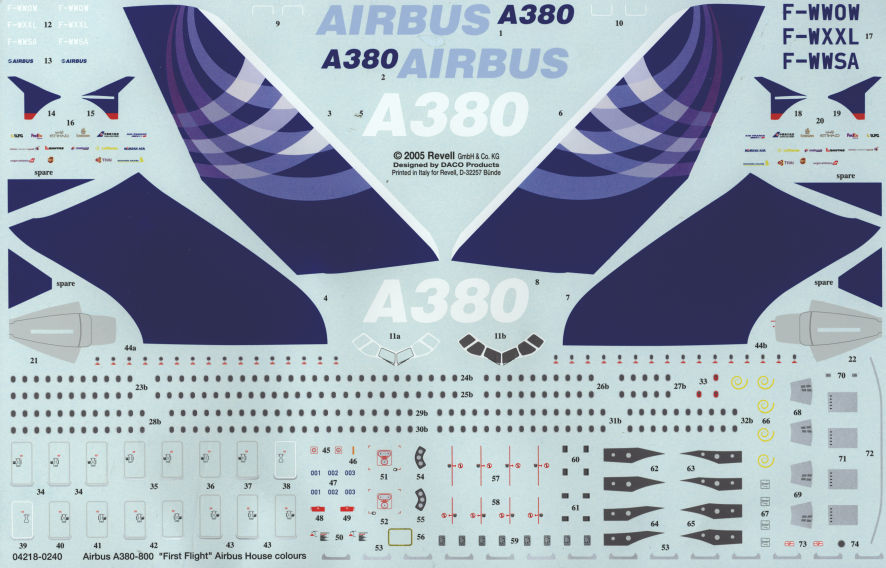

The next difficult work area was the lines on the wings and tail planes. They were on a separate sheet from the largest kit sheet and, since the decals from the large sheet had gone well, I assumed that decals on the other sheet would too. I was wrong, they were fragile and did not last long in my attempts to organise these thin and fragile decals into long straight lines. The solution to this problem was to print out my own decals for the lines. Fortunately I had taken the precaution of making a high resolution scan of the decal sheets before starting to use them so I had a backup. Of course, the back up showed the thin black lines on a light blue background, but that problem was solved by converting the image file to a black and white one. I printed out the lines I needed out onto a blank sheet of decal paper, painted a coat of Liquid Decal Film over the top, and away we went. I took the precaution of leaving a lot more decal film around the lines to make them easier to line up properly on the wings which, in theory, would be merged into the surrounding model with generous applications of Micro Sol. However, during the process of moving the model around while applying these decals I knocked over the open bottle and most of the Micro Sol washed out across the table and some of the decals. Oh my goodness…
So here I am, nerves in tatters and vocabulary of harsh language exhausted. The A.380 will be completed, no matter what the cost, as was the Fokker E.V. And to think that I pursue this hobby as a form of relaxation.