(December 2002)
In January 1959 French and German aeroplane manufacturing companies created the Transporter Allianze to design and build a new medium range short take off and landing transport to serve with French and German military forces, replacing the ageing Nord Noratlas cargo aeroplanes. The first Transall flew in 1963 and the first production run of 50 for the French Air Force, 90 for the West German Air Force, 20 for the Turkish Air Force and 9 for the South African Air Force was completed in 1972. In 1977 the French air force ordered another 29 Transall C.160NGs and the production line was reopened to produce them, the final one entering service in 1986. The C.160NGs had additional fuel capacity and improved avionics and could be fitted for air-to air refuelling. The German air force still has three squadrons in service and the French have them in operation with a number of units. The French Post Office also uses seven for internal mail distribution.
France has developed several variations on the basic Transall. They include ten completed with a hose-and-drum refuelling unit in the port undercarriage sponsons, the C.160H which is fitted with high quality communications equipment to relay communications with the French ballistic missile submarine fleet and the C.160G Electronic intelligence version. Two C-160Gs were converted from C.160NGs, entered service in 1989 and served in the 1991 Gulf War.
The designation ‘Transall C.160′ is derived from the contraction of ‘Transport allianz’ but the C.160 is unclear and might refer to the fact that the initial production run was for 160 aeroplanes.
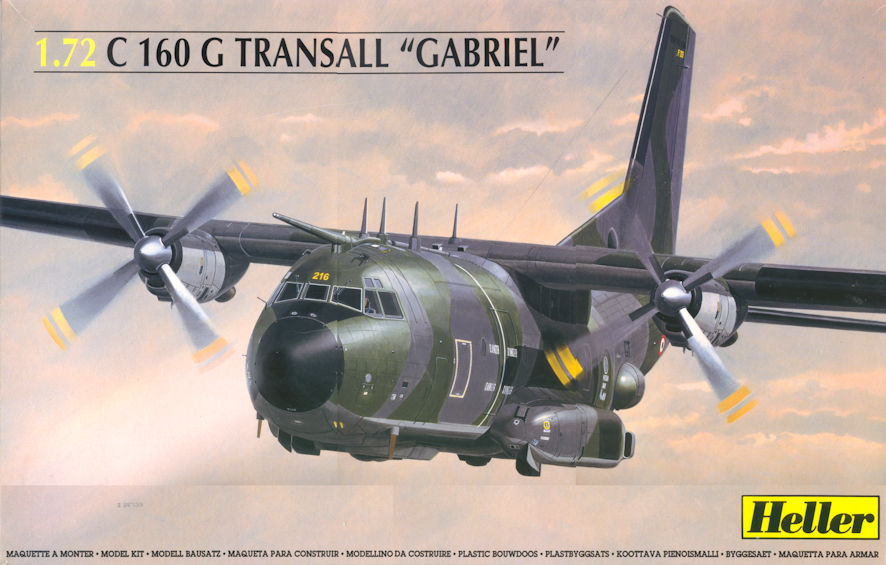
This kit of the Transall has been around for a few years and has undergone a couple of permutations. The kit that I made has additional parts for all the lumps and bumps required to convert the standard Transall into a C.160G. The instructions and the decal sheet provide options for this French version or a standard German transport version. Although I was inclined to make the standard transport version the decals don’t offer that option for a French one and so I had no option but to make the G version. Not that the work involved is terribly difficult, it only means opening up a few holes in the fuselage and wings for the locating pegs for additional pieces which fit well and add a certain je ne sait qua to the model.
Construction is entirely straight forward and this is, overall, an excellent kit. The only really appalling aspect is that, as far as I can tell from the instruction sheet, the transparencies for the cockpit windows come in one solid piece and are supposed to fit behind the holes in the fuselage for the windows, not in them. For a kit of this quality this is an amazing suggestion and, while I’ve been making kits for a long time, this is the first time I’ve actually seen this suggestion. It would look very odd indeed. However, it turns out that the single piece transparency is just about the right size to replace the entire cockpit section so, by cutting away the window frames and gluing this other piece on in its place, and with a fair amount of careful fitting, filling and filing, it can be made to work. Then I just masked the windows and painted over the rest of the transparency. The kit can be made up with some interior but that would only work for the standard cargo version, there is nothing in the kit to help make up the interior of the G version. Consequently I fell back to Plan B and painted the entire fuselage interior black.
There is nothing very difficult about the rest of the kit which goes together easily. A generous amount of filler takes care of some gaps, particularly around the tail. The plastic is a bit soft and needs some care when it comes to thinning down trailing edges. The intakes and jet exhausts on the engine nacelles need filling and then opening out to look a bit more realistic. As usual, lots of weight in the nose makes sure that the completed model will sit on its nose.
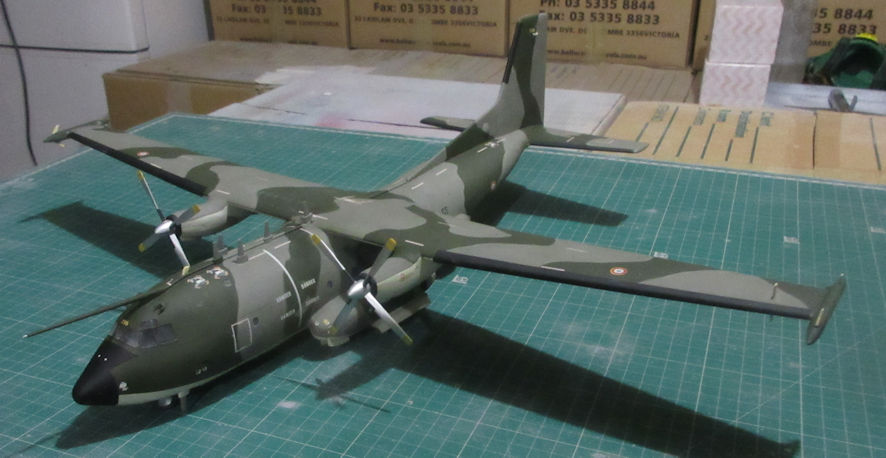
The most difficult part of this kit for me was the painting and that had nothing much to do with the kit and a lot do with how much more I need to learn about airbrushing. Since the supply of Modelmaster paints has more or less completely dried up in Ballarat and Melbourne I was forced to go back to good old Humbrol and discovered a great deal of variety in the consistency of their paints. The underside grey needed hardly any thinning at all while the upper side grey needed so much thinner that I more than doubled the volume of the paint with thinner and it was still too thick for the airbrush so the finish on this kit is far from ideal. The lesson is to thin your paint as much as you think and then add a bit more thinner to be on the safe side. Fortunately the kit was completed with a matt varnish so not too much of the troubles in painting are too obvious although it did cause some troubles with the decals.
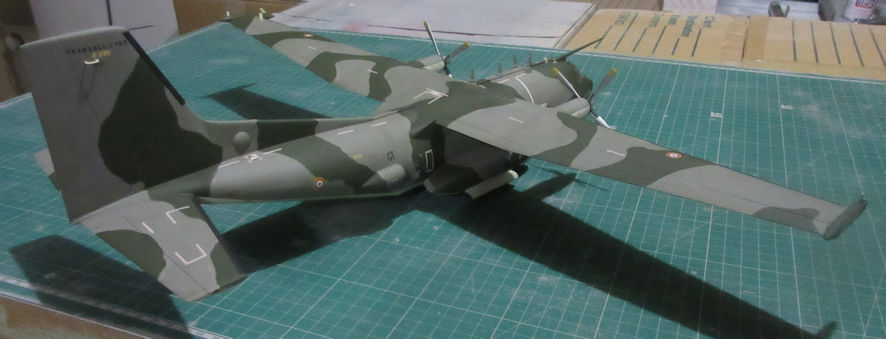
The decal sheet for this kit is excellent and provides all kinds of detailed stencilling for both the German and French versions. There are a couple of inaccuracies that I didn’t pick up until it was too late, but if I don’t tell you what they are you probably won’t notice. It took a couple of nights to get all the decals on, they all looked to have settled down very nicely and I didn’t see the silvering until the first coat of dullcote showed the problem. But when you’ve put on that first coat of completing varnish it’s really too late to do anything about it.
Overall, this isn’t one of the best models I’ve made because there many little problems and mistakes that mar the overall quality. Still, the kit makes up into an impressive big model.