(April 2021)
‘On The Bench’ is the oldest and most enjoyable – for me – scale modelling podcast. I like the chat between other podcasts out there but I identify with the way in which the three Australians banter seems to me to convey the Australian character in a relaxed and friendly way.
But that’s not why I’m writing this. I’m writing this after getting frustrated at the long discussion they had in their most recent podcast about how to transport made models so they won’t get damaged. I wanted to tell our three friends that there was a simple, easy and affordable solution that I’ve been using since 1979 when Valma and I moved from Melbourne to Canberra.
In moving models what you need is something that protects models from damage caused by external things around them and protects the delicate parts from being crushed or broken by the packaging material itself. It would also be useful if any parts that are broken or fall off remained with the model so they can be repaired and reattached later on. My solution to this problem works for me, and has for the past forty years which has involved, for the oldest of my models, moves from Melbourne to Canberra, then to Sydney, then Perth, then four locations around Ballarat. Few models have been damage in any way and no parts have been lost – despite having been handled by some very energetic and devil-may-care removalists. One local club member sent a model of a Lancaster he made for his father in one of my boxes to where his dad lived in Canada and the model was not damaged.
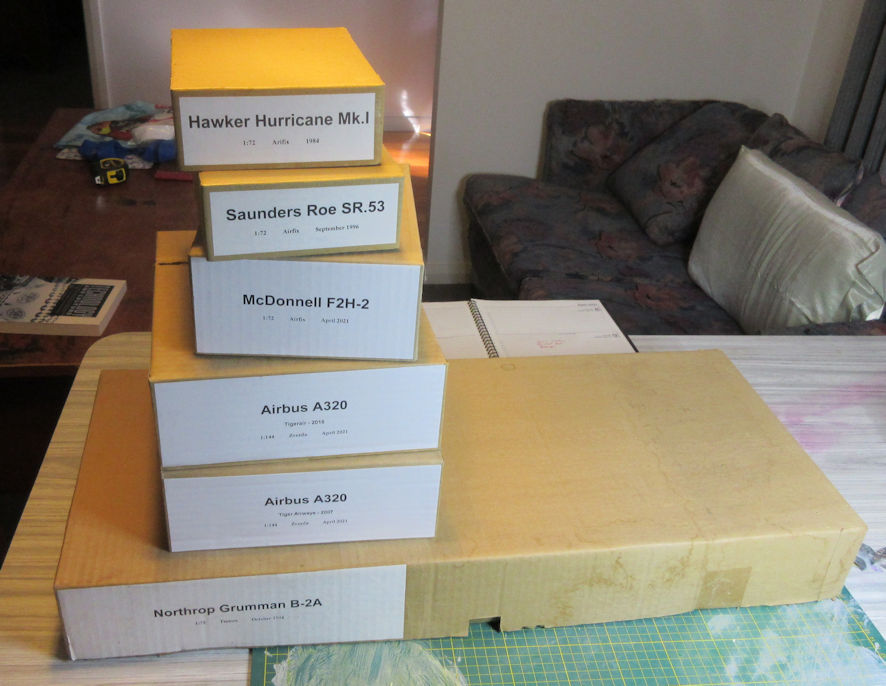
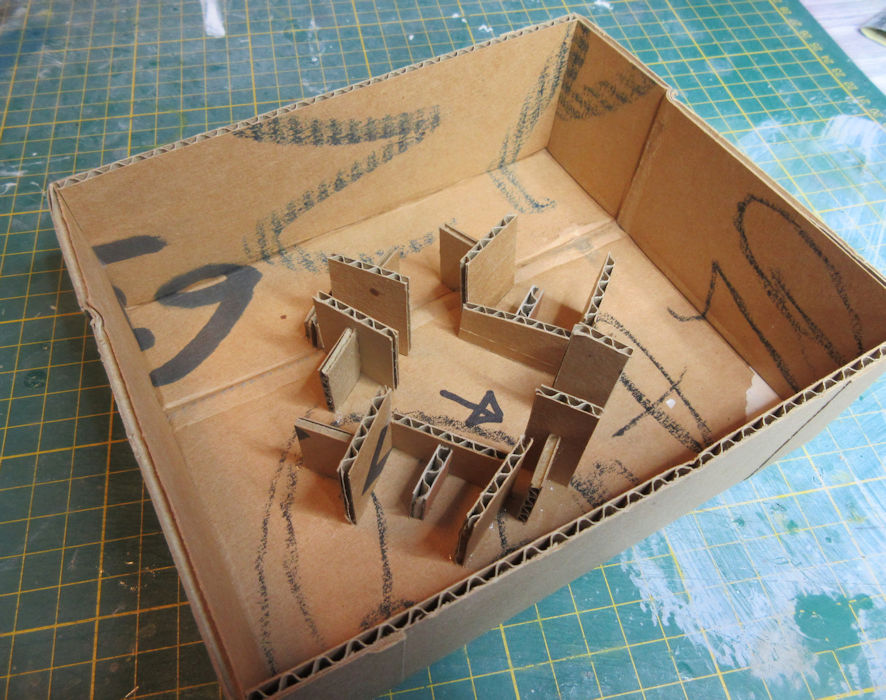
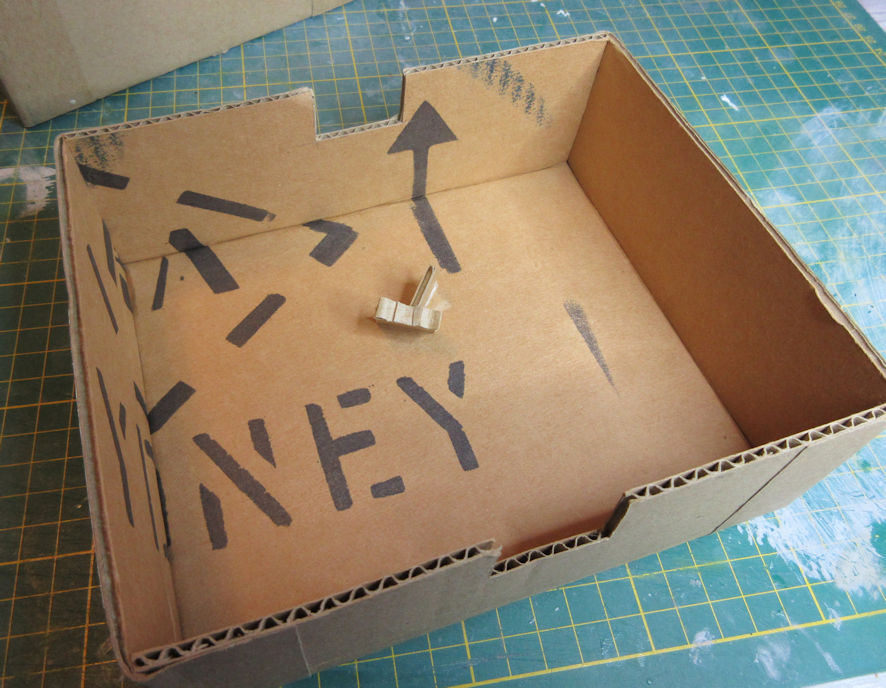
The process is that each model has a box made for it. The boxes are made of corrugated cardboard to give them strength with the bottom half of the box made smaller then the top half so the bottom slides inside the top to give increased strength. A cradle is made for the model which supports it so that no parts of the model will touch the sides of the box and that cradle is glued into the bottom half of the box. With the model sitting in the cradle inside the bottom half of the box a smaller cradle is made to fit inside the top half of the box that pushes down gently to hold the model in place, and that’s it. To make sure everything is securely in place I give the box a good shake to make sure the model is secure.

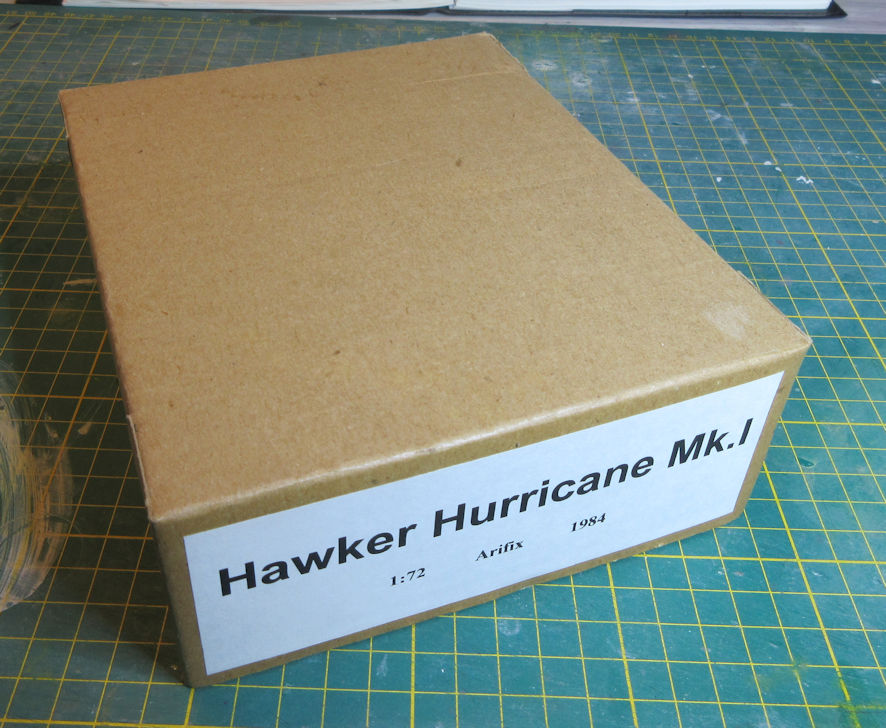
Because you can’t see the model to know what it is inside the box a label is useful. I also make the boxes to a set of standard sizes so they stack up easily. This makes it easy and convenient to take models to club meetings and displays without damage and when they are at home and not on display they are secure from dust and light that does so much damage to models. It takes about an hour to make each box but that is only a fraction of the time that it takes to complete a model and then it is protected from the elements. I make it a simple rule that a model is not finished until it’s in it’s box. It’s as simple as that.