(September 2001)
By the 1970s the USSR was facing a formidable array of new fighters and bombers planned or in development in the west – the SR-71, B-1, F-15 and cruise missiles which were all serious threats to Russian airspace. The Russians were also developing an equivalent new generation, including the Backfire and Flanker, but also needed a powerful long range interceptor that could operate a long way from existing communication and control structures. To meet this need the Mikoyan design bureau undertook development of its high speed, high altitude MiG-25 (Foxbat) interceptor. Key components of the new weapons system were a new engine, strengthened and developed airframe and new technology radar and missiles which may owe something the F-14 technology which became available after the revolution in Iran.
The new interceptor went through a series of incarnations before reaching production standard. The first version of this new aeroplane was the Ye-155M (known as the Ye-266M) single seater which set a number of performance records including the absolute altitude record of 37 605 metres (123 524 feet) in August 1977. Series production of the MiG-31 began in November 1979 and around 250 were produced, serving with five interceptor regiments across Russia. Its radar, datalinking capability and great range give it the ability to patrol large areas and its missile armament allows it to track up to 10 targets simultaneously and attack several at the same time with long range missiles. It is, in short, a very capable and impressive interceptor, the closest western equivalent being the Grumman F-14. Around the time that the Mig-31 entered production development began of a more advanced version, the MiG-31M. It has been certified as combat capable but cutbacks in Russian defence spending make it unlikely that this new version has entered production.
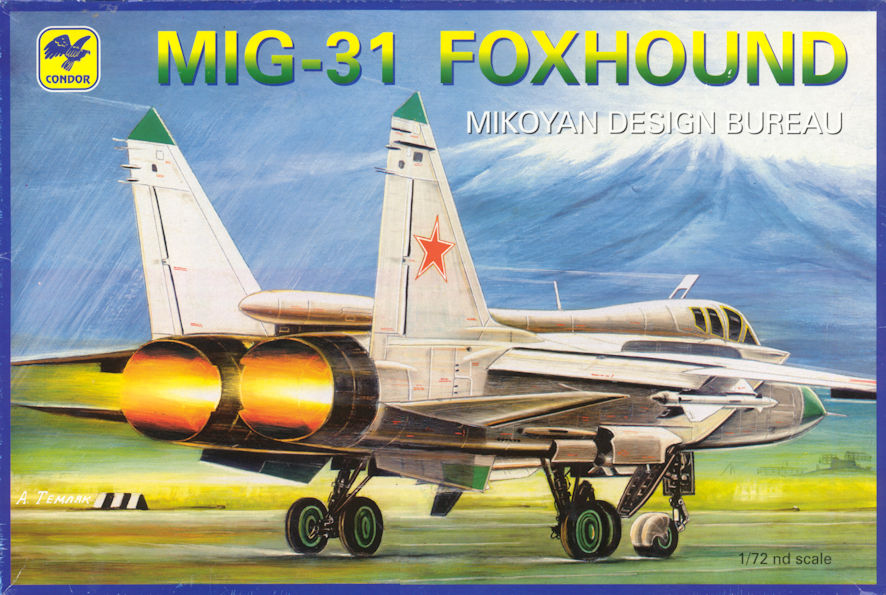
The Russians have designed some striking looking aeroplanes in the past twenty or thirty years that combine almost brutal power with angular sleekness and a no-nonsense honesty. Four examples come to mind; the long and angular Blackjack bomber, the all-engine Fulcrum, the curvaceous and powerful looking Flanker and the all-steroids Foxhound. I am a sucker for attractive looking aeroplanes so when I saw a nice new kit of the MiG-23 Foxhound, and at a reasonable price, I didn’t even try to resist.
I hear that there is another version of this kit from another company, using the same moulds with other decals and (hopefully) instruction sheet. I would be tempted to buy it because some of the most difficult problems with this kit turned out to be the decals and the instructions. Either way, this is a kit that I’d recommend with a few notable reservations.
The Foxhound is a big aeroplane and the kit is fairly impressive too, filling out the box nicely and giving you the impression of value for money. Looking at the mounding in detail I couldn’t help but be impressed by the thought that had gone into their planning. For example, the fuselage is made up of a number of parts, not just two side or a top and bottom, which means that the twin tails and ventral fins are designed to glue onto the rear fuselage sides at exactly the right angle rather than the rather hap-hazard and potentially difficult exercise you get with come kits. The same with the intakes which are a bit difficult but end up going onto the fuselage just right. I was not as happy with the plastic which is perhaps too soft or with the intake ramps that seem a bit too obtrusive when compared with references.
Talking of references, it would be all but impossible to make this kit without access to a good collection of photographs. This is not because the kit it deficient but because the instruction sheet is. A couple of examples; there are two fairing plates that go on the rear fuselage to link the jet exhausts (not something you see every day) but the instruction sheet does not show where they go or how they fit and it was only be peering at the photographs to see where the two pieces should go that I figured it out. Similarly, the undercarriage is a rather complex affair and the instruction sheet gives you almost no idea of how all the pieces go together and you have to work it out by looking at photos. My source was World Air Power Journal Volume 13, pp.30-45.
Take care in assembling the kit, although it is cleverly designed and the mouldings are fairly crisp they do not join together too accurately and some parts have not been fully moulded. (I ended up not using the missiles with this kit because of this problem with the fins). Taking some care to make sure the pieces fit before gluing to reduce a lot of filling and tidying up later. I couldn’t get the four parts of the cockpit to fit together snugly and ended up using epoxy glue to fill in some of the gaps. But despite some moments of frustration the whole lot ended up coming together very nicely, and even unpainted the model looks big and impressive.
Painting is simple, an overall coat of light grey which, according to my research is almost the same shade as Model Masters RLM 63 Light Grey. After the first coat, however, the colour looked far too dark in comparison to the photos (a matter of ‘scale colour’ I guess) so I added a lot of white to the paint until it was a much lighter shade which gives a much better sense of what the original aeroplane looks like. I don’t have space to tell you about the trouble I had with the brown sealing around the windows, which is probably just as well and anyhow it was my fault and not the fault of the kit. A more obsessive modeller would make a better job of this kit than I did but I’m still happy with it because it looks like a Foxhound.