(March 2002)
Design of the Loire 130 commenced in 1933 to meet the French navy’s requirement for an all-purpose shipboard catapult-launched three seater seaplane. The prototype flew for the first time in November 1934 and competed with five other contestants for the contract, eventually winning in August 1936. Two versions were ordered, the 130M (Metropole) and the 130C (Colonial), the latter featuring a larger radiator, reinforced structure to permit shallow dive bombing and other equipment fitted specifically for tropical operations. Between 1936 and 1940 a total of around 150 Loire 130s were ordered though it is unlikely that all were completed.
They did not begin reaching French naval squadrons until 1938 but, by 1939, they were serving with a number of ships including various capital ships, cruisers and the seaplane carrier Commandant Teste. They were also based in many French overseas possessions and served with shore based, ship based and Air Force units from the Carribean to French Indo China. After the French defeat in 1940 the Loire 130 served with Vichy units and, on a couple of occasions, they were used in escapes to allied bases. In November 1942 all catapults were removed from French ships to make room for more anti-aircraft defences and subsequently the Loire 130 became shore based.
The last Loire 130s to be completed were 30 ordered at the beginning of 1940 and delivered to the Vichy Navy before construction switched to the Arado Ar196. From around 1943 they were progressively grounded because of a spares shortage but a number survived the war. Despite the French Navy’s decision to stop overhauling them in September 1945 four were still in use at a training base in late 1947 and one was reported to still be flying in Indo China at the end of 1949. They were an efficient aeroplane, performing a range of duties including reconnaissance, observation and ranging for naval guns, coastal patrols, convoy and escort work. They also performed liaison duties and could carry three passengers in addition to their crew.
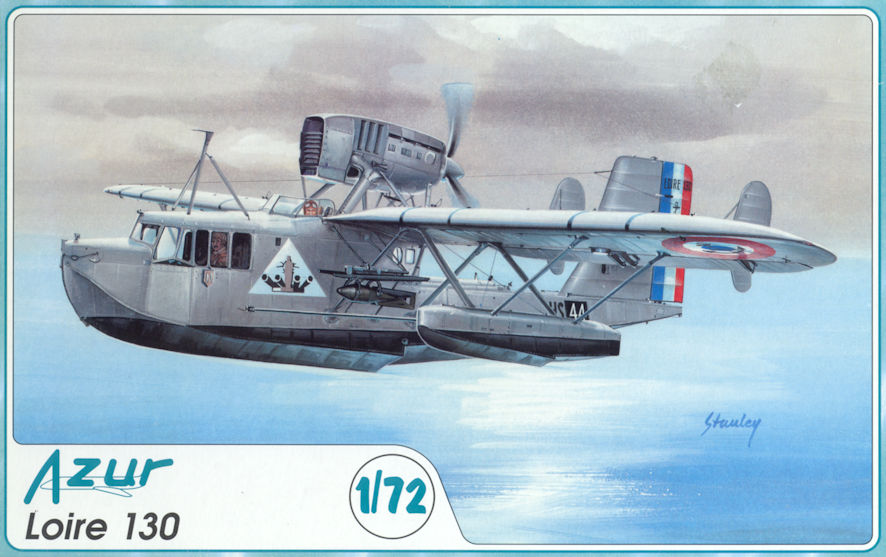
Azur have done it again, sent me scurrying off to the references to see what it is that I’ve lashed out my hard earned on. It really didn’t matter what it was, the box top was such a good piece of work and the Azur label were enough to convince me. It turns out to be the French equivalent of the Supermarine Walrus and considerably prettier than the British version too.
Again this is an excellent kit which provides almost everything needed to make a good model. The mouldings are excellent (as usual), there is a nice little fret of brass bits, an excellent decal sheet and the transparencies are vacformed. All well worth the money. Even the box top is well researched in addition to being an excellent piece of art and it proved to be a good guide about how some of the pieces went together when the sometimes unnecessarily vague instruction sheet failed. (An example, the colour diagram for the Vichy Navy version shows both sides of the subject but the black on the floats is quite different from one side to the other.) Having said all that, I couldn’t recommend this kit to somebody who hasn’t spent quite a few years putting plastic together, not because there is anything wrong with it but because this is one of those kits that takes large dollops of ingenuity, patience, and (as they say about surgeons) the hand of an artist and the heart of a lion. Sometimes you have to be either courageous or foolhardy to take on a difficult kit, and this is one. Be prepared to do a little bit on it, put it away for while until you’ve worked up the nerve to push on, do a little bit more and let it rest again. Rushing this one will only end in disaster.
There are three areas that require skill, a steady hand, endless patience and even a little bit of bravery. They are the vacformed transparencies for the cabin, the struts for the underwing floats and the engine mounting. I added a fourth challenge by deciding to finish the model in Vichy colours which involved some fairly precise masking for the red and yellow tail stripes.
First the fuselage. It goes together nicely but there are some windows at the rear of the cabin that are only indicated by engraved lines (two circles and two squares) that need to be opened up before too much progress is made. The top of the forward cabin locates very positively which is just as well because you need to feel very confident when it comes to cutting out, gluing in place and then masking the windows. The celluloid is so thin that it is almost impossible to put in place precisely and keep there while the glue sets. To overcome this I used little dabs of superglue to tack them in place to be glued more securely and, of course, the usual frosting occurred. Next the floats. There are six struts involved for each one, no locating pins and only the vaguest suggestion about how it all fits. I used a large dollop of Blu-Tack to position the floats roughly where I thought they should go and then used the struts to work out their precise location, and then glued everything together. It’s a painstaking business but it worked, to my satisfaction anyhow. I did the same thing with the engine which is even more vague about where the struts fit. I thought I had it right but when I came back the next day to attach the propeller I found it wouldn’t fit, so I had to gently pull it all apart and try again.
Apart from the tail, which involved masking for the tri-colours and the Vichy stripes, the entire model is aluminium silver (non-buffing aluminium Metalizer works nicely) and flat black. For the finishing touches there were a few little brass bits and, finally, it was time to sit back, enjoy my handiwork and try to relax. I enjoyed it, I must be a masochist.