December 2016
As we are all told, beauty is only skin deep. My researches so far have led me to the conclusion that when it comes to people there is a surface beauty and an inner beauty, and while the outer impression might win competitions, the inner component is somewhat more important in the longer run.
This is not so with scale models. A model might be made up of many different kinds of components, stuck together roughly but smoothed over with oceans of filler and sanded to a lovingly smooth finish, ready for the paint that will complete the illusion. Of course, we’ve all seen excellently made models spoiled by a bad paint job and we’ve also seen badly made models that have excellent paint jobs, which hide at least some of the failings of the modeller.
I lay no claim to being either an excellent model maker or painter, it is something that I’ve battled with over the years, learning as I’ve gone along. One of these days they will offer a university course in modelling so that youngsters can learn all the tricks I’ve picked up over almost half a century of modelling. (Don’t laugh at the idea, there are even less useful things already being taught at universities.)
I may have made half a dozen Airfix kits before I got around to deciding that it might be interesting to push on to the next stage in the modelling process, which was trying to paint them. There were, after all, instructions and drawings that came with the kits that told you what colors they should be painted but, since we lived a long way from anywhere that sold those little tins of paint that were mentioned, I went to the local hardware store and bought a small tin of ‘Chinese Green’ enamel that I splashed over everything that I made after that. Some time later I bought a tin of grey paint and later again some light grey paint, and that suited just about all my modelling needs until I bought a tin of silver paint for that Mustang I got for Christmas.
Finding a modelling shop in Melbourne was a revelation, in particular the little tinlets of Humbrol paint. The cost, 2/- each (20 cents), was also a revelation, since a series 1 Airfix kit cost only 4/9. When I had a job I could afford to buy these paints and acquired quite a collection of them. One day a friend and I sold a play we’d written and got paid so much for it that I could afford an air brush (a Badger 150) and it was not long before I discovered that a compressor was a vital component of the airbrush system, and even more expensive.
Thus equipped I trundled on for many years. The only major discovery was the Modelmaster range of paints, more expensive than Humbrol but you also seemed to get more for your money, they came in an extensive range of ‘authentic’ colours and those little glass jars were reusable. I also learned the limitations of enamel paint; the inability to get a decent metallic sheen onto a model – the Metalizer range was okay but didn’t take to handling or masking very well, white paint went yellow over time and hand painting enamels one colour over the other, was likely to end in tears.
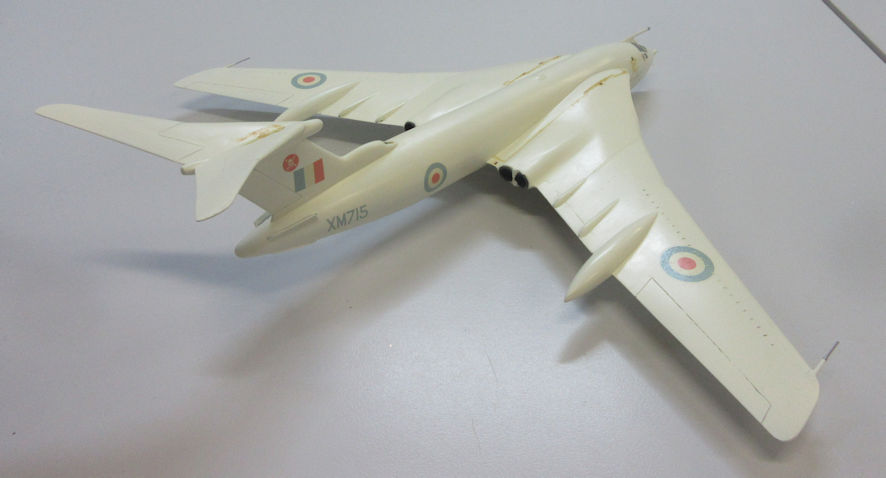
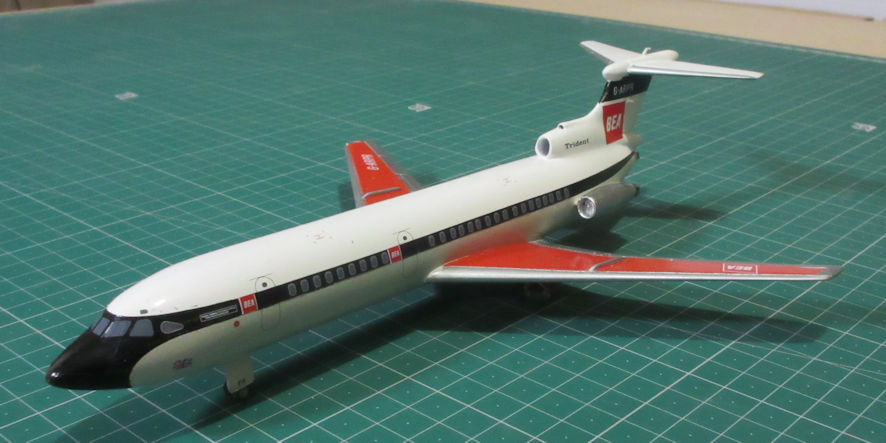
And then I discovered lacquers, in particular the Tamiya range of rattle cans. There were, for example, five metallic shades to give all kinds of options and the contents of the Pure White can was said to stay white (a promise which it has lived up to, so far anyhow). These two discoveries unleashed the hidden airliner modeller in me – as you may have noticed. The thing I like most about the lacquers is that they dry quickly and smoothly and they stand up to all kinds of rough treatment – which they get in my hands I can assure you. But they are too smelly to use in the house
The one type of modelling paint that I have avoided has been acrylics. I had a go at the Tamiya range in the 1990s and that experience drove me back to enamels. Unwittingly I started using this kind of paint when I went to an automotive paint shop and got them to mix up a big tin of Boeing Grey. The tin came with instructions to thin it down by a ratio of 1:1.5 which meant that it was designed only to be used through my airbrush, so it didn’t occur to me that I was using acrylics. However, this stuff had to be used with strong thinners so spraying and cleaning up was a messy and smelly business, although the finish was worth the trouble.
More recently I’ve been reading a lot of reviews which mention a variety of acrylic paints and some of those nice looking models that have appeared on our display table have also been painted in acrylics too. So I thought I’d give them a go – aided by a couple of club members advice. I do like the way in which you buy these paints in sets to enable modellers to make late war RAF or early USN models without having to hassle in trying to get all the right colours.
What do I think so far? Well, I’m not sure.
On the positive side, they don’t smell much which means I can use them anywhere in the house without causing adverse comments. I also find it novel that I can just go to the kitchen sink and clean my brushes under warm running water. Most importantly, if I don’t mess about too much while painting one colour over another I don’t get the problem of the upper coat dissolving the lower coat which almost invariably happen with enamels. They also dry quickly, which is always nice when you’re trying to get something finished for the coming club meeting.
On the other hand. Unlike enamels, which seem to be more or less the same no matter who sells them, everyone who makes acrylic paint seems to make it different so you have to get used to how they work. I may get used to this little problem over time, but at the moment I find it annoying. (I’ve just gone through the process of completely stripping down my airbrush and giving it a thorough clean after having run some Lifecolor paint through it. Not happy! It turned out that the paint had congealed at the bottom of the jar and needed a lot more mixing than I had given it, which would have been more than enough for most of your enamel paints.)
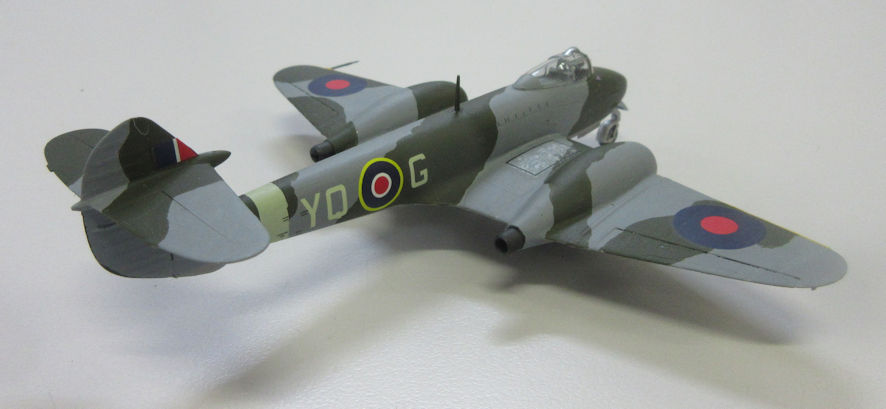
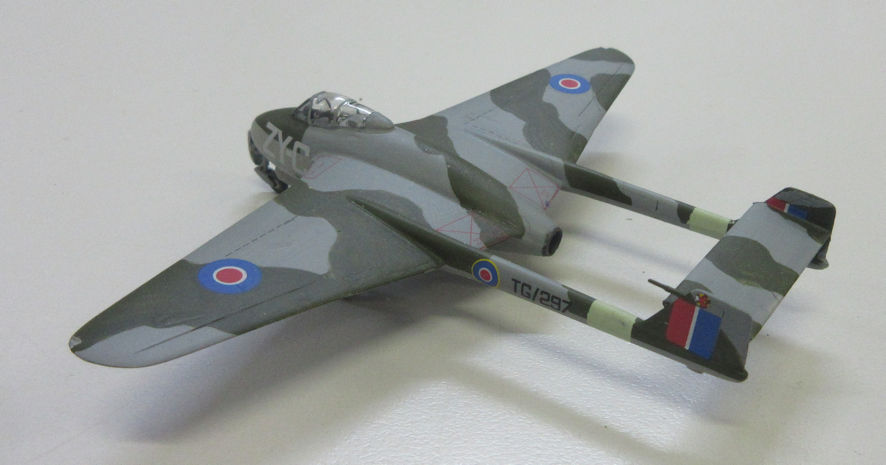
Like all good modellers I started out experimenting with hand painting with these new paints on bits of scrap plastic, and that went well enough. However, when it came to painting models, that was going to be a different thing. If I had had any brains I would have started with something simple of one or two colours. But I’d had this desire to make early jet fighters and fished out the Dragon Meteor F.1, which is actually a very nice kit. Then, in an unaccountable attack of insanity, I decided to make the Amodel Vampire F.1 as well, which is not such a nice kit. Having got the models ready to be painted, and having given them a coat of Tamiya primer, I embarked on the hand painting process. What I learned very quickly was that the round paint brushes that I has used for decades were not so good at spreading around acrylic paint. I quickly discovered that this new paints flows from the brush quite differently from enamel paint, I guess the oil content of enamel makes it easier to apply whereas the acrylic paint seems more like a thin paste that has to be spread around quite differently. ‘Spread around’ might be the best way of describing the process. What also made the business difficult was the need to apply six different colours to the Meteor and Vampire, which came up looking not-so-bad with a lot of touching up.

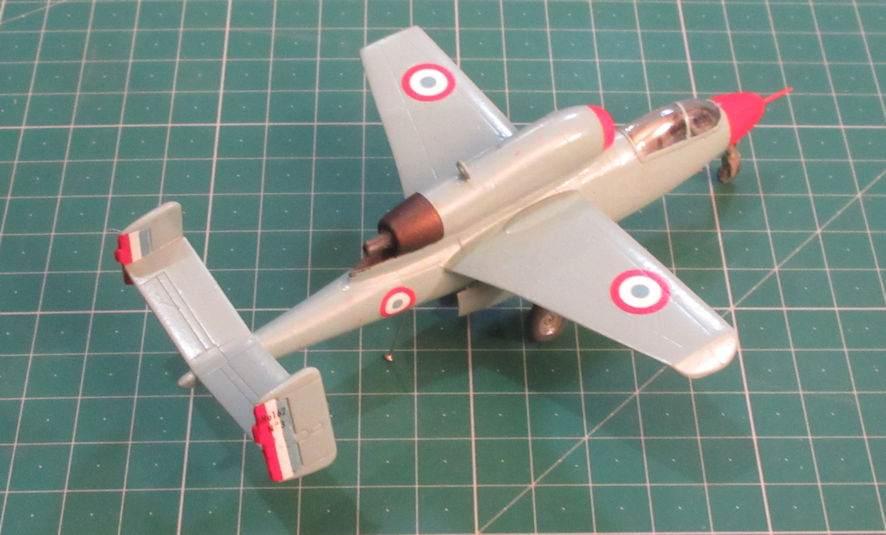
To make the next experiment easier I went out and bought the new Airfix F4F-4 – which is an excellent little kit – and a big flat paint brush. This model needed only two colours in big broad swathes and that went very nicely. Having been emboldened by this experience I bought myself a set of Luftwaffe paints and then rustled around in my Treasure and found the Hobby Boss Heinkel He162. I also had a look through my decal collection to see what options I had and found a nice sheet of decals for German aircraft flown by the French after the war. It turned out that one of these He162s had been painted up for a special display in 1948 in red and blue. Who could resist that. However, having no suitable acrylic paint for this project I found myself back painting in enamels, thinned down to just the right consistency and run through my airbrush.
Golly, it felt comfortable to be back with enamel paints I’d got used to for decades after my first experience with acrylics. My impressions of acrylics was not improved when I tried using some acrylic RLM02 Grau on parts of this model and that went horribly wrong.
I reckon all this experience I’ve built up over the years must be good for something apart from whinging about it in our newsletter. So when Zim gets that Scale Modelling 101 course running at his university I’m putting my hand up to run the sessions on painting. (As long as I don’t have to mark the assessments, that is.)
