(August 2006)
In 1954 the Soviet government ordered a very large helicopter for military and civil use. In military use it would carry large numbers of troops, supplies or rocket launchers and other heavy weapons and in civil use it would be used in remote areas for transport and as a flying crane. The Mil design bureau was given the project and developed the new helicopter fairly quickly with the first of five prototype Mi-6s flying in July 1957. It was given the NATO reporting name ‘Hook’.
The Mi-6 was the first turboshaft engined helicopter to enter production in the USSR. Production began around 1960 when it was by far the largest helicopter in the world with a payload greater than the total weight of the West’s largest helicopter, the Sikorsky S-64A. To reduce stress on the engines, transmission system and rotor blades the Mi-6 could also be fitted with stub wings for ferry and long range flights which took about 20 percent of the load and allowed it to fly at up to 300 kilometres an hour. For many years the Mi-6 held a number of world helicopter records including speed and payload. Up to 90 armed soldiers could be carried and a civilian passenger version had seating for 80. Cargo could be loaded through the rear clamshell doors and an external load of up to about 8 tonnes could be carried on a cable dropped through the cabin and out a hatch in the floor.
The Mi-6 was produced in a wide number of variants including passenger, medical evacuation, search and rescue, firefighter, with a capacity of 21,000 litres, tanker version for ground refuelling and the Hook-B and Hook-C command support versions and the Hook-D airborne command post version. Most, however, were the basic Hook-A transport version. Outside the USSR other countries to operate the Hook included Algeria, Egypt, Iraq, Syria, Peru and North Vietnam. During the Vietnam war the Hook was used to lift jet fighters from their airfields to remote locations in an attempt to escape US air strikes.
Production of the Mi-6 ended in 1981, by when about 860 had been produced. It was replaced by the more advanced but similar Mi-26 that entered production in 1981 but Mi-6s remained flying in Russia into the 21st century. They were grounded there in late 2002 after a crash in which 21 people had been killed but there may be some still flying in other parts of the world.
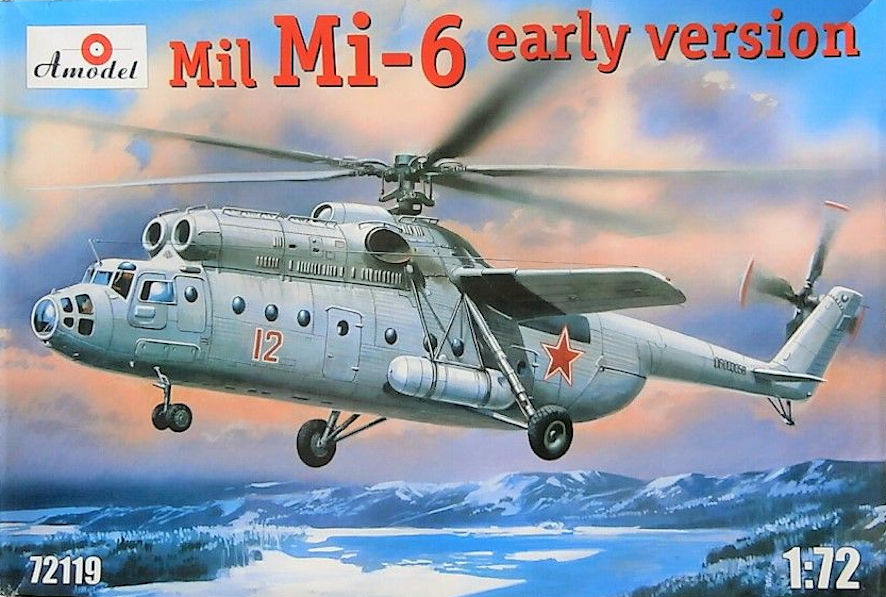
I don’t know what came over me. It might have been the excitement of the swap & sell or it might have been the cheap price on such a big box. I knew it was an AModel kit, which should have been warning enough, but a look inside the box showed it fairly bulged with bags of plastic and the instruction sheet and decals were there so it was all too good to pass up. I handed over my money and regretted it a few moments later, when it was too late. I could get rid of the thing by trying to sell it again at another swap & sell (but nobody would be that silly), throwing it out or making it. I chose the latter, thinking if it didn’t work I could still throw it out.
I’ll say one thing for this kit, it had a lot of parts. One of the first trouble I came across was that although the instructions gave part numbers they were not on the sprue so I spent a lot of time flicking back and forth between the page of the instruction I was working on and the key to pieces at the front. I soon discovered there were pieces to make a complete interior with lots of little chairs and rails, which made hunting out the parts I wanted to use even more annoying. So, things were not off to a good start. To add to that, AModel seems to use small moulding machines so the fuselage comes in six parts but, since this kit also suffered from the usual AModel warping, putting them all together and fitting the cockpit interior, that did not want to fit, was all a bit difficult. Added to this stressful situation were the clamshell doors that seemed to think the fuselage should be a couple millimetres narrower than the rest of the fuselage thought it should be, so it was not a happy picture. To add complexity to the problem, the numerous portholes in the fuselage sides are slightly bulged on the real thing, and the kit supplies the necessary clear parts, which don’t quite fit. I decided to solve that problem by leaving them out and using Krystal Kleer later; it looks okay of you don’t know how the portholes should look.
After that things went rather better than expected. The engines on the upper decking went together rather well but fitting that completed substructure left some unsightly gaps that were not so easy to fill, given the close proximity of all those louvers. The kit gives no hint of the exact location of all those handles on the engine access panels so I had to hunt up some good internet photos that gave the general idea and, amazingly, they didn’t come out looking too bad. Apart from that the only other problems were getting the wheels and external tanks to fit properly and the discovery that the kit is a tail sitter despite all that plastic ahead of the main wheels. The solution to this involved cutting a slab out of the fuselage bottom, loading it with lead and epoxy putty and gluing it back again. You can guess that I was delighted with the model by this stage.
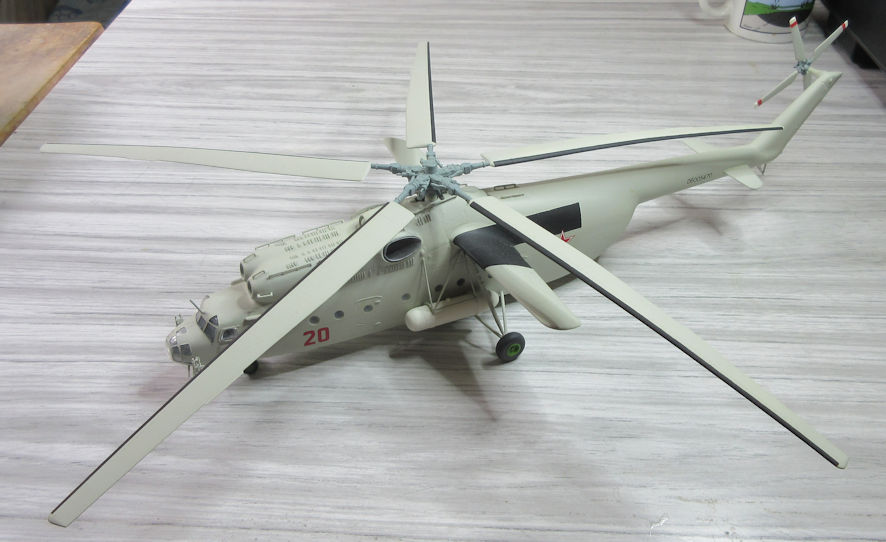
Then I decided to get serious about the colours and markings. The instruction sheet gave options for Russian, Chinese and North Vietnamese versions but I discovered the decal sheet only offered Russian decals, and then not the ones the instruction sheet suggested. Obviously somebody had made off with the kit’s decal sheet and substituted something from their spares box, hence the cheapness of the kit. I’m all smiles by this stage! Still, a cruise around the internet looking at as many pictures of Mi-6s as I could find showed that just about all the Russians ones were painted the same shade of light grey and that there was a great variation in the markings that appeared on them, so I ended up using the decals that had come with the kit and made up some serial numbers to suit on this computer. There was also the business of masking the nose and cockpit transparencies, that involved a little blood and a lot of swearing.
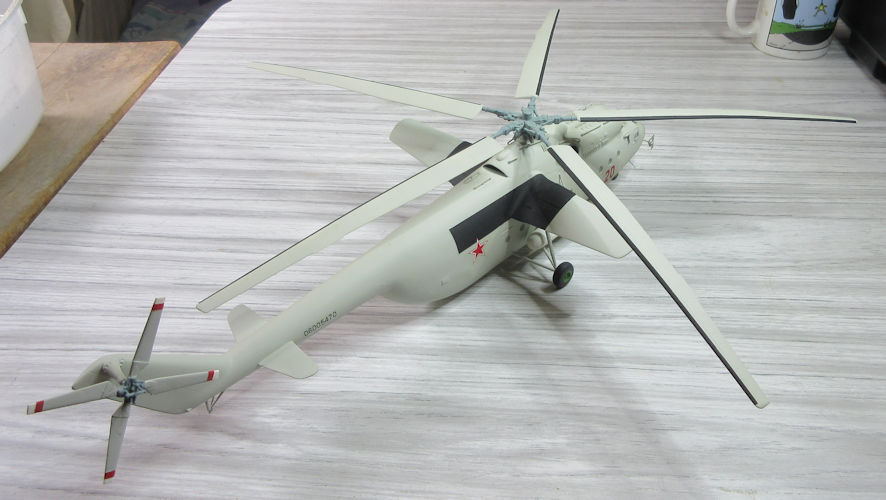
The rotor assembly went together alright but the soft plastic made the tail rotor look somewhat limp before I stiffened it up with a bit of wire at the join with the fuselage. I also used some wire to strengthen the join between the main rotor and the fuselage but I can only wonder what gravity and the passage of time will do to the rotor blades themselves. Let’s no think about that. Instead, the end result looks rather BIG and not entirely unattractive.