(November 2021)
We take it for granted now, but surely the shape of Lockheed P-38 is one of the strangest shapes to emerge from the design offices of any 1930s aviation company and serve during World War II. It was the logical but unusual result of the need to create the most efficient two engine single seat fighter around the idea that two thin pylons created less drag that the traditional design of a single fuselage and two engine pods. The resulting P-38 was a potent fighter when the United States entered the war but had been overcome by more modern ideas around single engine fighter designs as the war progressed.
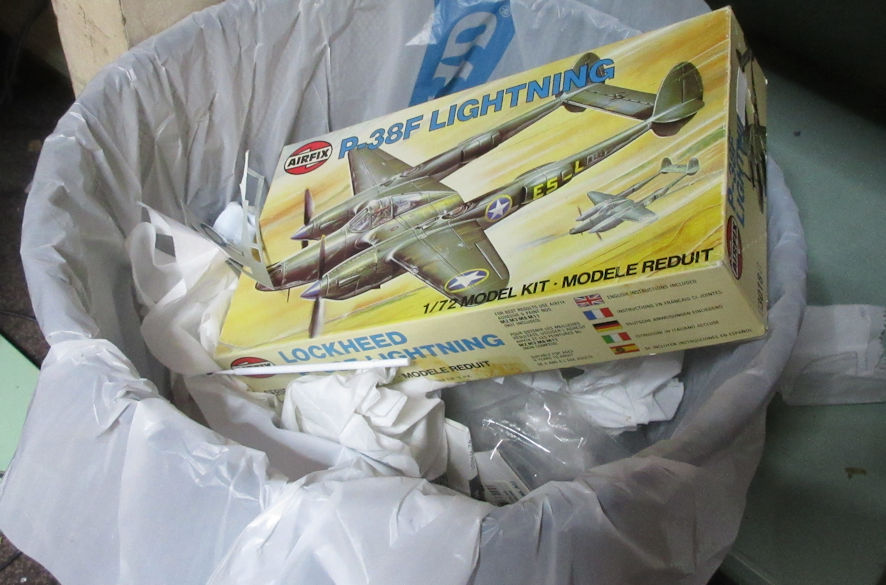
I’ve only made two models of the P-38 before this one. The first was the original Airfix boxing (bagging might be a better words, because that’s what the kit came in) of the P-38J that dates from the late 1950s. Then there was the Monogram 1/48 P-38M which was in its day, and still may be, a very good kit. Some time in the 1980s I picked up the then recent Airfix issue of the P-38F which has sat in my Treasure until earlier this year. Then, from nowhere, the inspiration overcame me that I had make a model of the P-38, but not the later version with the deep radiators in the engine pylon noses but the sleeker looking earlier P-38F. ‘Ah ha,’ I said to myself, ‘I have one of those in my Treasure’. I went and got it out, overcome with nostalgia of happier days gone past. But when I opened the box I recoiled in horror. Crude raised panel lines and rivets, minimalist cockpit, dull details and, worst of all, blanked off rears on the pylon radiators. I looked again, realized that these would not be insurmountable problems and thought about how they might be fixed. Then sanity returned and I realized that life was too short to waste on this kit – that’s what Mach 2 kits are for. I thought about putting it in the pile of kits to be sold for a pittance at the next swap n sell but then decided to have mercy on whoever might buy this kit by accident and put it in the bin.

Being still possessed of the desire to make a P-38F, not that deformed P-38J, I went looking for a suitable replacement. Almost all the 1/72 kits are for the P-38J and while the old Frog P-38F might be a collector’s item it’s not something I’d want to make while the old Hasegawa P-38J that can also be made as a P-38F is rare and expensive. This left the only option as the RS Models P-38 series of kits that were released around 2012 which looked promising and offered just about every model of the P-38 you can imagine, and then some. I’ve made a few RS kits before and they were okay so I thought ‘what can go wrong’ and ordered one of their P-38F offerings.
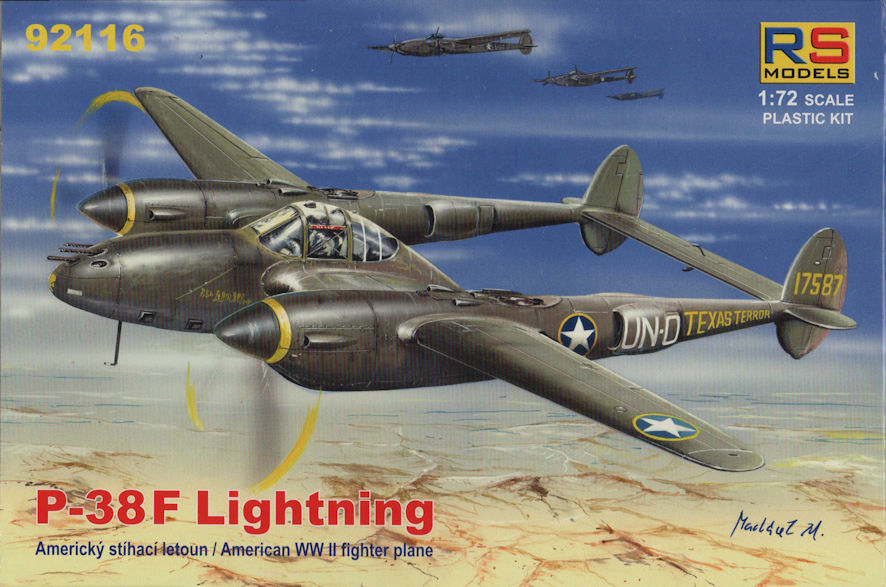
This kit is aluringly deceptive. Open the box and survey the contents and this looks like a very nice kit with all the right level of detailing and surface panel engraving. There are a multitude of little parts to glue together, which is the norm for short run injection moulded kits and can often lead to a more satisfying completed model. However, I suspect that the moulds for this kit might be getting a little old because there were tiny seams of flash on almost every part so a lot of time had to be dedicated to cleaning the parts before I could start sticking them together.
Then the fun began. The cockpit detail is very nice and includes very nice controls and a seat for which you have to construct your own support from sprue. The less positive aspect of the cockpit was the lack of positive indications of where anything should go so a lot of test fitting went on before I felt secure in the assumption that I had everything in the right place. Particularly difficult to judge was the location of the seat and back armour plate but a lot of peering at photos made me feel that I got it in the right place. After some painting to bring out some of the detail I treated myself to some after-market seat belts which, truth be known are the RAF variety, but if you don’t tell I won’t either.
There is also a very nice nose undercarriage bay that is supposed to fit into the fuselage pod below the cockpit. Independently they fit very nicely into the upper and lower fuselage halves but when it came time to put those two halves together I found that they didn’t fit, not even a little bit. Reckoning that people are more likely to see the inside of the cockpit rather than the undercarriage bay I hacked away about half the height of the undercarriage bay (which was not easy with the bay glued securely in place) until the two halves did agree to fit, but only about the rear two thirds of the bay because you want to keep the front section so you know where to stick the nose undercarriage leg when you get to that stage. Since models like the P-38 are almost inevitably tail sitters unless something drastic is done I crammed as much Three Green flexible nose weight into every square millimeter of the nose pod and then sealed it up with a great sigh of relief.

Next came the engine pylons where, I discovered, there was plenty of space to put more weight to keep the model sitting on its nose. When I used the word ‘fun’ up there it was with a sense of great irony because there is not much fun to be had in making this model. Everything fits, but not quite, so almost all the mating services have to be sanded flat and it is best to glue together individual parts such as the engine pods, the pylons and the wings and let them set before trying to glue those modules together. The undercarriage bays for the pylons are best, I think, left until the engine noses and the pylons are ready to be stuck together and then slipped into place, and even then they are not quite the snug fit the complete modeller would like. It is also evident that other versions of the P-38 can be made from base parts of the kit so that, for example, the engines of the deep nosed P-38J must be supplied in another kit while mine had the more attractive P-38F engines. However, this arrangement means that when it comes time to put together the individual modules – engines, pylons, wings and cockpit pod, the fit of parts is far from positive and it takes a great deal of juggling to get them to fit even tolerably well and all be square at the same time. Laying in a goodly supply of nerve pills, and then the filler needed to take care of some impressive gaps, is recommended.
There are other little irritations in making this kit, too many to mention. But, for example, the interiors of the main undercarriage bays come with some interior detail and some piping to go in there too. The instructions are very unclear (to me anyhow) about where these should go so I found some photos on the interweb which clarified the situation but also made it obvious that the piping and the undercarriage legs both needed to occupy the same space. The legs seemed to be more important than the piping which went in the bin – so no looking in there if you don’t mind.
Having got the airframe was well made as possible it was time to put on some of the smaller details including the cockpit canopy – which didn’t fit. The fault might be mine because I had not put the seat and armour plate in the right place so it was too high, but that would not have been a problem if there had been a positive indication of where that should have gone. What can I say, more sanding and filling of the most delicate nature was necessary before the merging of cockpit and fuselage looked acceptable. Grumble, grumble, grumble.
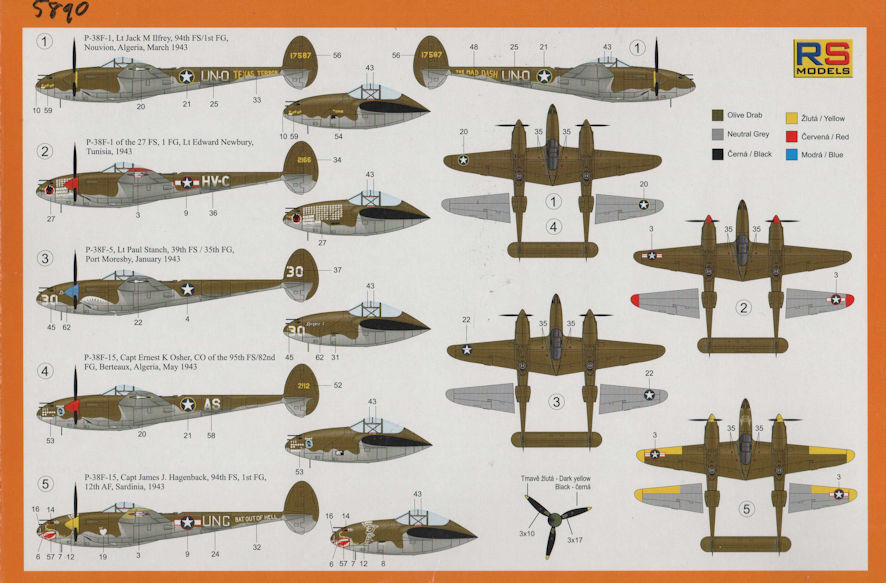
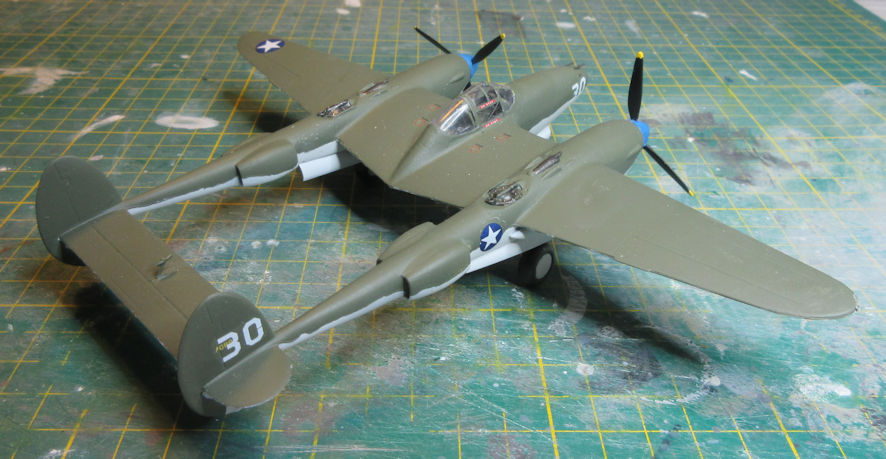
The kit offered five decal options, all in the traditional olive drab and neutral grey scheme so common on USAAC aircraft of the mid war period. Having become enamored of SMS paints I bought their paint for these two colours, which both look a shade too light in comparison to other paint makers versions, but I think they work well together so I’d recommend them. They dry nice and glossy so there is no need for any gloss coating before applying the decals, which also go on very nicely.
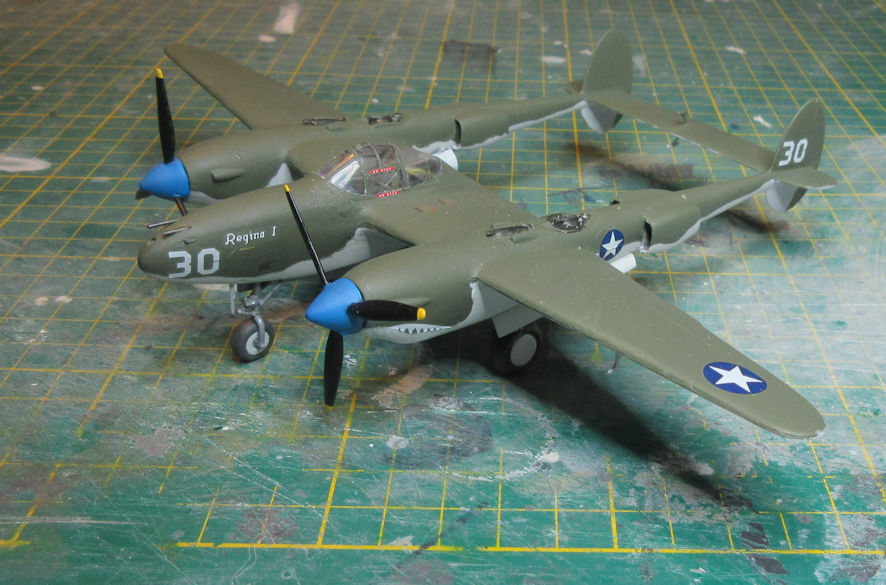
Finally a coat or two of SMS flat clear lacquer, tack on the final details and it’s completed. Now, I’ve whinged about this kit more than usual because it is a very annoying kit to build. However the end result looks very nice, more or less like a real P-38F, and I am mighty pleased with it. Perhaps part of the satisfaction comes from having stuck with it to the bitter end and beaten it into submission.
brochure-5890-lockheed-p-38f-2Downloadworkbench-notes-5890-lockheed-p-38fDownload
