May 2016
I reckon there are two reasons for making the Mach 2 Martin P6M-2, but in this case there were three. One reason is because the P6M was a fantastic looking aeroplane. The second is because making a Mach 2 kit is like mountain climbing – mountains are a challenge and climbing them is a test of one’s skill and endurance. The third reason was because Master Mark had this plan of putting on a special display of Mach 2 models at our display day and I agreed to make something big to add to the display. Had it not been for this promise it is unlikely that this model would have been finished in this decade.
The Martin P6M was a high speed flying boat designed to keep the US Navy relevant in the nuclear age. It was a flying boat designed to operate from floating bases on the high seas and deliver atomic bombs at just below mach 1 to enemy targets just about anywhere around the world. Of course, development of such a sophisticated piece of hardware took time and ran into all kinds of problems so that, by the time it was ready to go into service, the whole concept had been made obsolete by the invention of the nuclear missile armed submarine. After that the P6M project was cancelled, just as crews were in training for operational deployment. This made it a rare and elegant aeroplane, well worth having a go at.
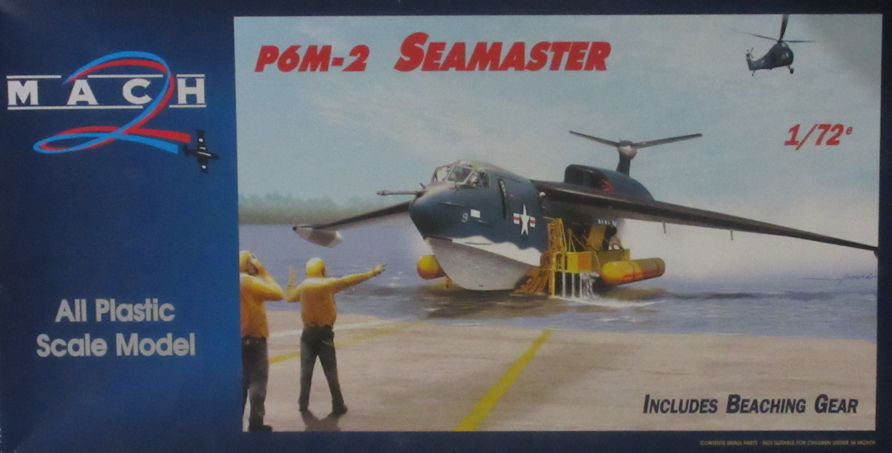
There are two 1/72 kits of the P6M, both of dubious quality. You have your choice of the Anigrand resin kit (which can, it is claimed, be made in either the XP6M-1 or P6M-2 version) and the Mach 2 kit. A detailed review of both kits that can be found on the interweb comes to the conclusion that the Mach 2 kit is the least worse of the two, with the advantage of including the flying boat’s beaching gear, which is not included in the Anigrand kit. Since the point of this project was the make Mach 2 models, that is the kit that I decided to make.
Having made quite a few Mach 2 kits these days, I don’t open the box and look upon the contents with horror in the way that most modellers do, it is more a sense of dismay that Tamigawa do not make a kit of this aeroplane. That way I would not be faced with the challenge of turning this box of roughly shaped bits of plastic into something resembling a specific aeroplane. On the other hand, I say to myself, where is the challenge in making a Tamigawa kit? So, I dive in and hope for the best. This is not helped by the usual Mach 2 sheet of what might laughingly be called ‘instructions’ which does not give you much indication of what the smaller pieces are supposed to be or where they are supposed to go.
Seriously though, this is not a really difficult kit to make. All the pieces you need are there ready to be used, though most of them need a lot of preparation to be useable. What kept getting me down was the sheer amount of work needed to get to the stage where I could glue pieces together.
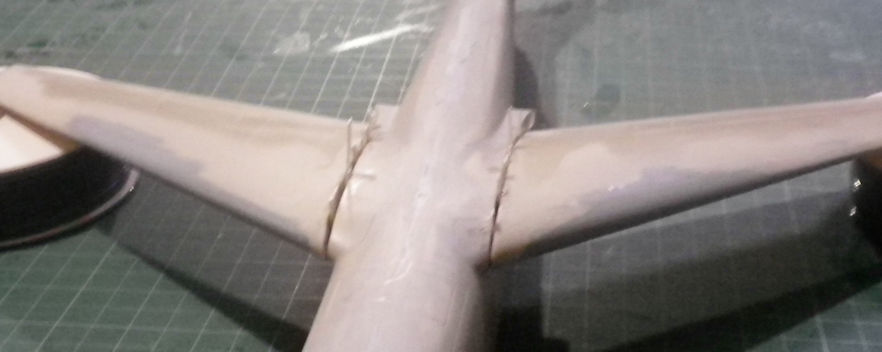
There are a lot of annoying little issues along the way. For example, the leading edges of the wings are not straight, as they should be. This meant of lot of filling and filing, a whole process that would not be necessary on your ordinary Tamigawa kit. Here you can see the filler used on the wings, but what you can’t see is the plastic removed on either side of the filler too.
One of the other problems with kits like this is that there is nothing positive about the way the parts fit together. Getting everything square and lined up is a bit of a process in which I use a huge cutting board, blue tack, old blank CDs and a protractor and ruler to get everything as right as possible. Then I poured some glue into the wing gaps, let everything set for a day or two, came back and put some plastic shims into the gaping gaps, more glue, and came back a couple of days later.
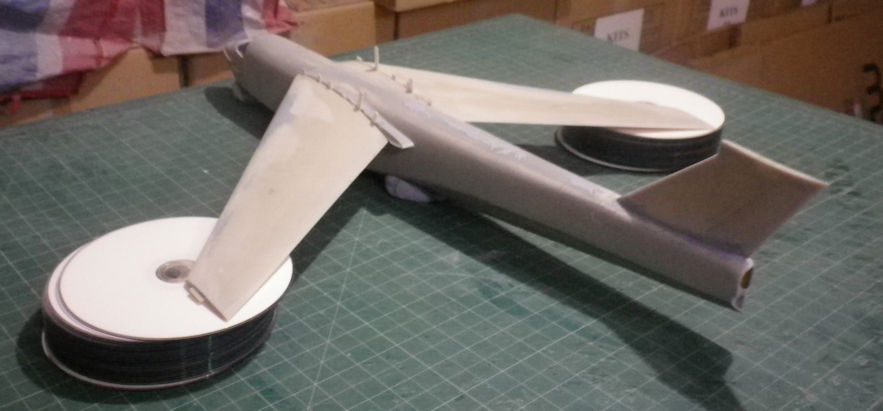
After the fuselage-wing joins were sorted out it was time to move on to the engine pods and the tail. Again, the same techniques for getting things square. The engines really didn’t want to meet up with the wings so they were given a lot of encouragement with lots of masking tape holding them down while the glue set.

With all this sorted out it was on to the long period of tidying up everything and refining the details. All fairly tedious to do and even more tedious to write about.
Finally, and having put off the worst part to last, it was time to get on with the kit’s beaching gear. First there was the process of liberating all the little pieces of misshapen plastic from their sprues and then the process of refining them too At the end of these labours I ended up with a pile of little bits and pieces, and turned to the instructions for guidance about what to do with them. Here are all the pieces…

And here are the kit instructions …
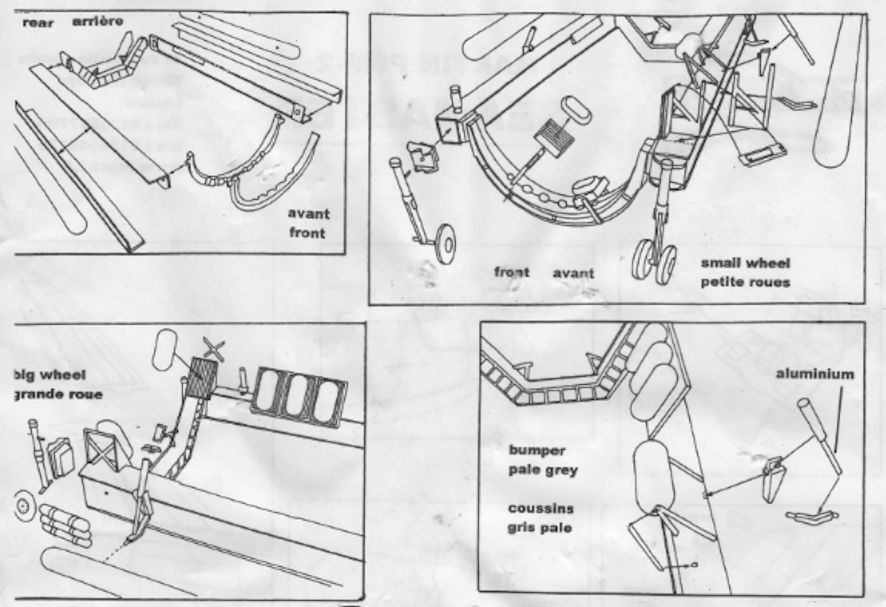
I made sense of it all by finding a photo of a model of the beaching gear somebody else had made and then sticking bits onto the base until all the parts had gone.
After that, it was a matter of masking and painting. The bigger the model, the more masking and painting. No wonder I like working in 1/144 these days. Finally, everything came together and, phew, got away with another one.


